Configure Resend
Configure Resend, a sending domain, and an API key so Saavo can send registration verification, password resets, and other system emails in production.
Saavo uses Resend by default for system emails such as registration verification, password resets, and account security alerts. During local development, email content appears only in the terminal. The project calls Resend to send real email after deployment to Cloudflare.
Before you begin, prepare:
- A domain already connected to Cloudflare DNS.
- A Resend account you can use long-term.
- A support email address that can receive user replies.
If your domain is not connected to Cloudflare yet, complete Configure domains first. Resend verification does not depend on whether your website has a Custom Domain. It only needs the domain to be managed by Cloudflare.
Choose two email addresses
This guide continues with webpagetopdf.dev and configures outgoing and incoming email separately:
| Address | Purpose | Does it need a real mailbox? |
|---|---|---|
send@mail.webpagetopdf.dev | Sender address shown in system emails | No separate mailbox is needed |
support@webpagetopdf.dev | Receives user replies and serves as the website's support address | Must be able to receive email |
Resend verifies the mail.webpagetopdf.dev subdomain. After verification, you can send from addresses such as send@mail.webpagetopdf.dev and account@mail.webpagetopdf.dev without creating those mailboxes first.
The support address is different. Saavo puts supportEmail in Reply-To, so replies go to that address and it must be able to receive them. You can use Cloudflare Email Routing to forward support@webpagetopdf.dev to your regular mailbox.
Sending and receiving can use different services
Resend sends system email from mail.webpagetopdf.dev, while Cloudflare Email Routing receives user replies at support@webpagetopdf.dev. They use different names, so they do not overwrite each other or require two sets of MX records on the root domain.
Sign up for Resend
Create an account
Open the Resend sign-up page. You can register with Google, GitHub, or an email address and password. Choose a sign-in method you can manage long-term and follow the prompts to verify your email address.
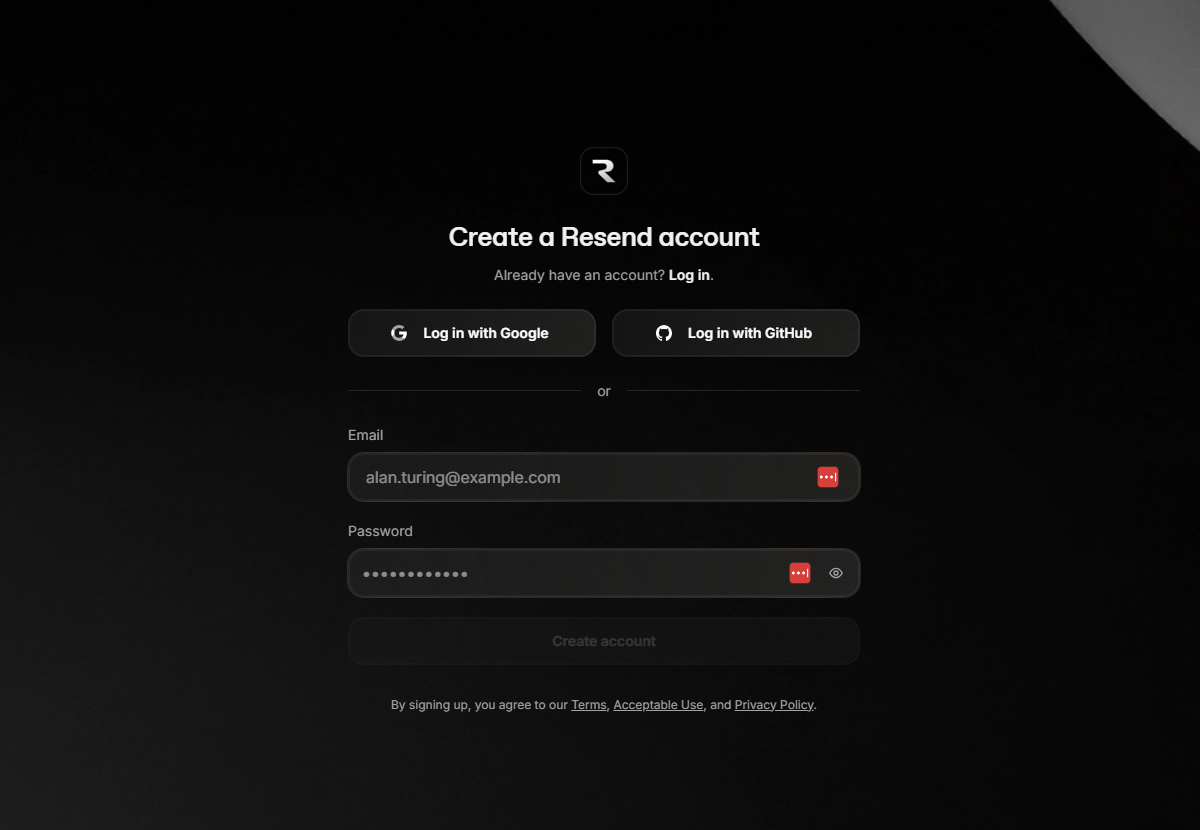
Do not share one account among team members. After signing up, invite members to the same Resend Team so you can revoke their permissions individually later.
Open the dashboard
After signing in, you arrive at Send your first email. In the sidebar, Domains lets you verify sending domains, and API keys lets you create the keys your project needs.
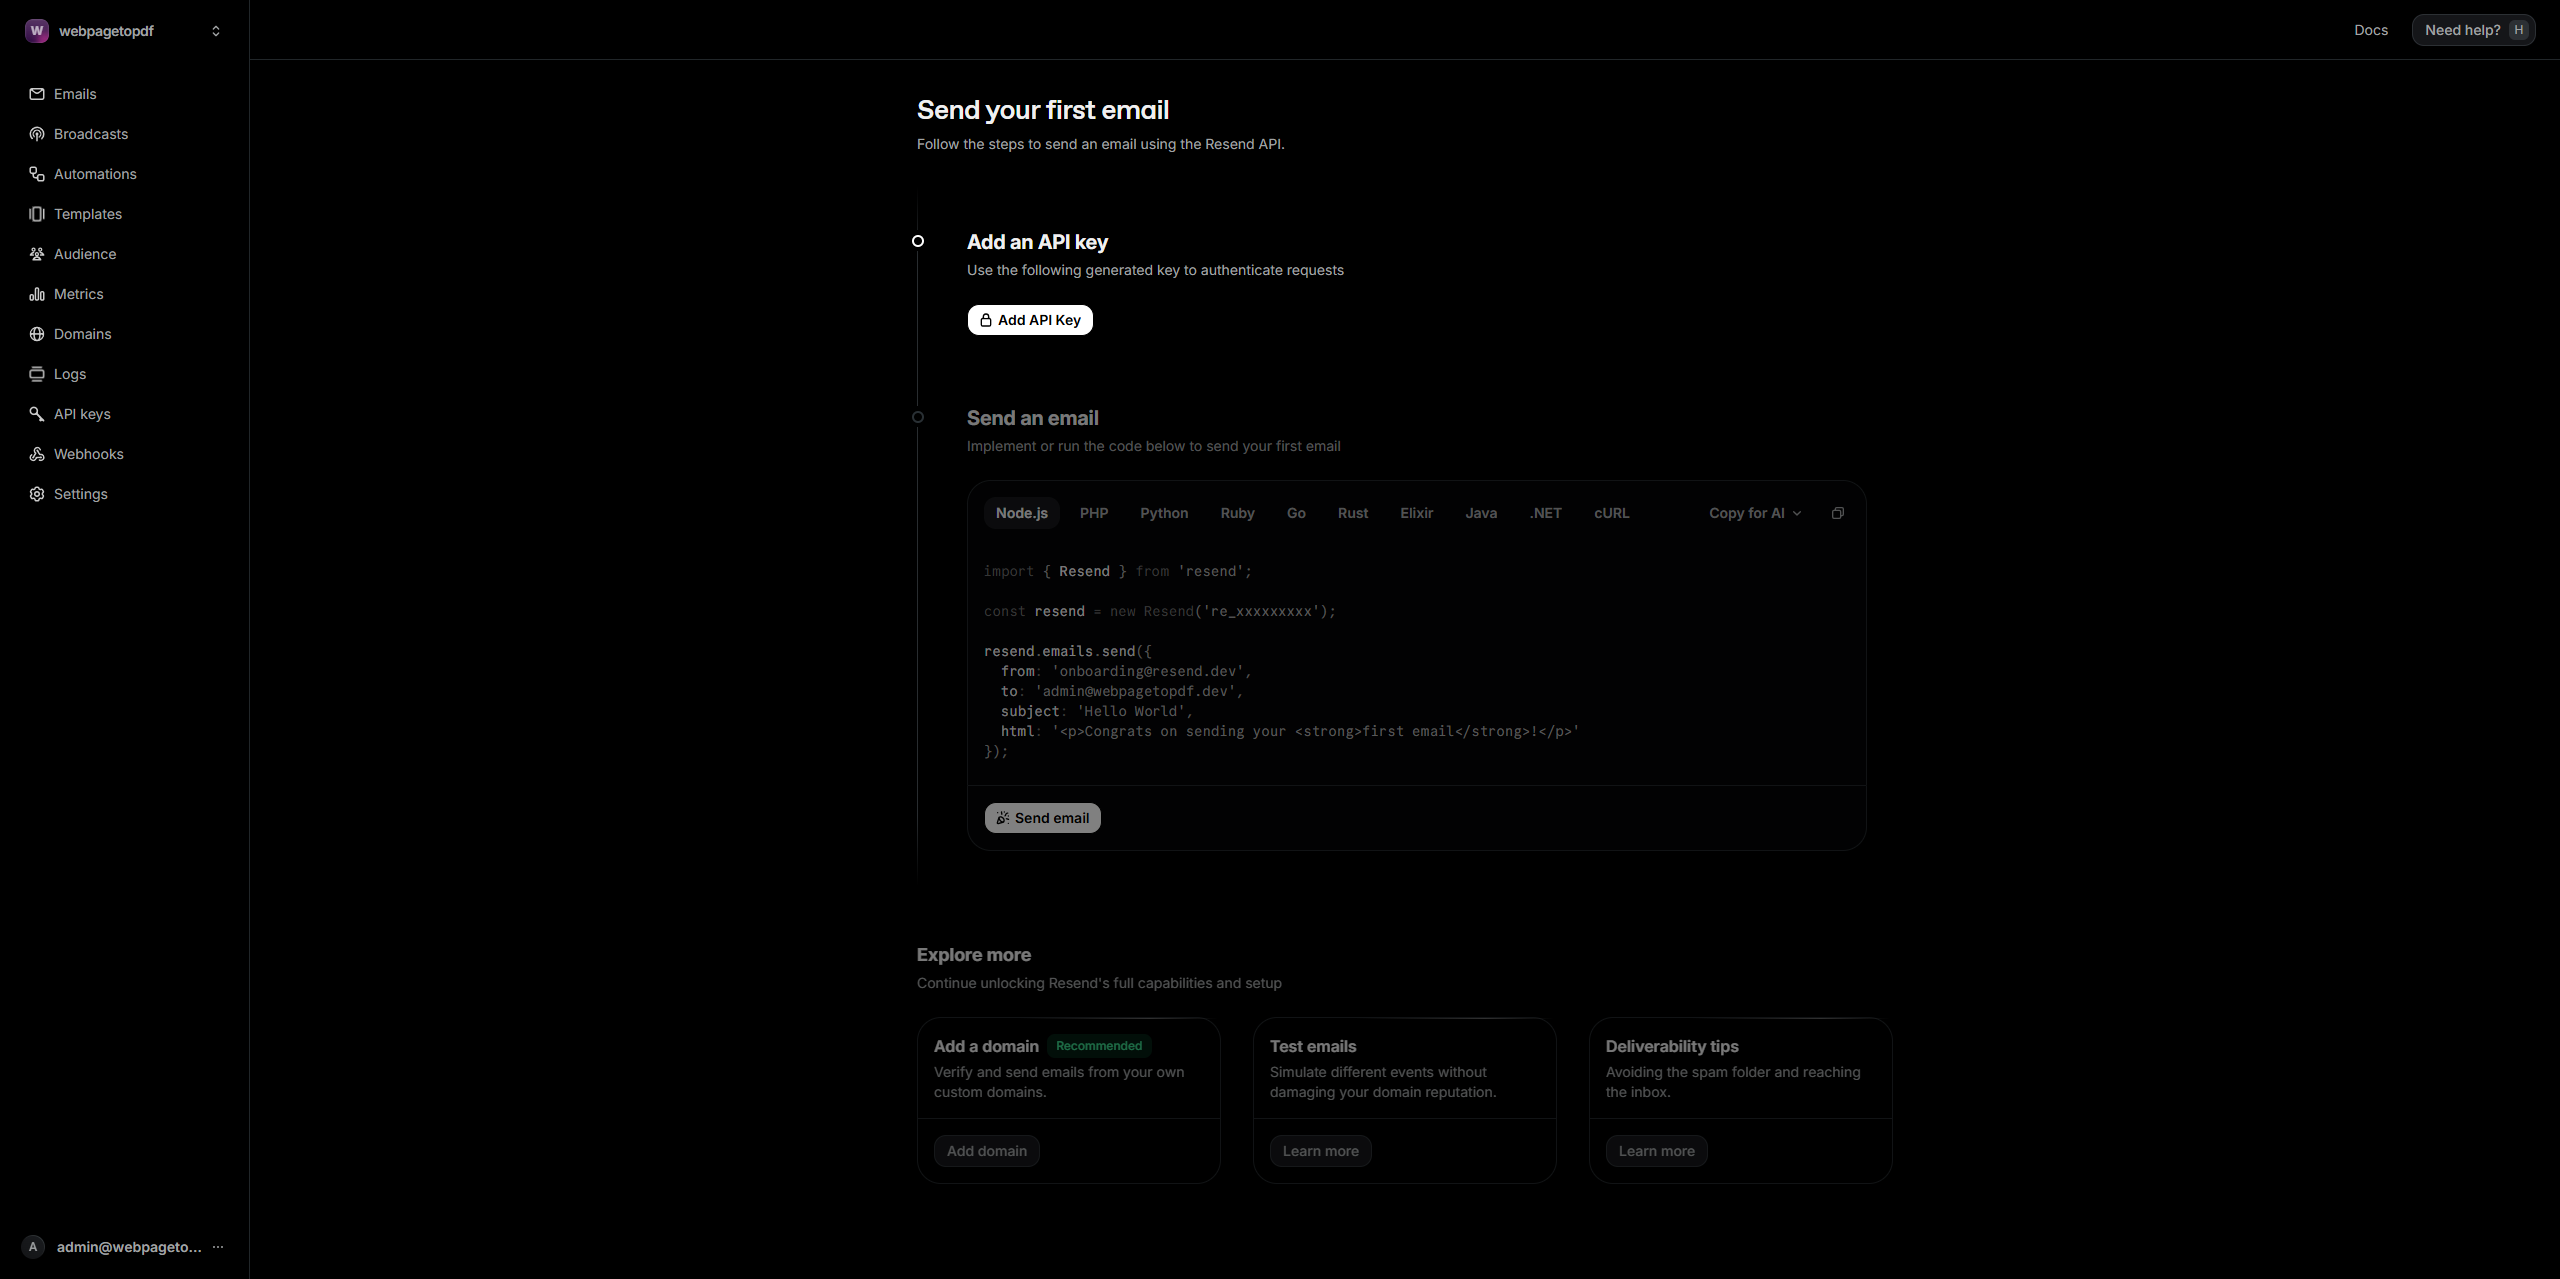
The test address on the homepage can confirm that your account can call the API, but it does not replace verification of a production domain. Complete the following setup before Saavo can send email to real users.
Verify the sending domain
Open domain management
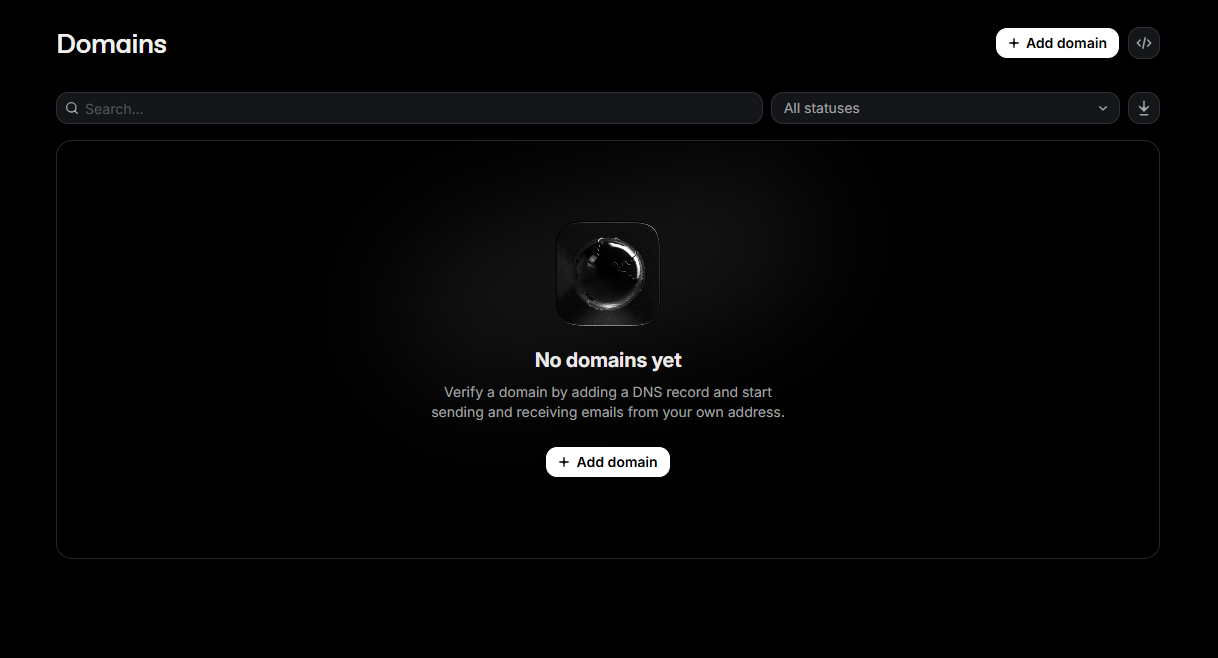
Open Domains in the sidebar. On first use, the page shows No domains yet. Click Add domain in the center or upper-right corner.
Enter the subdomain
Under Name, enter:
mail.webpagetopdf.dev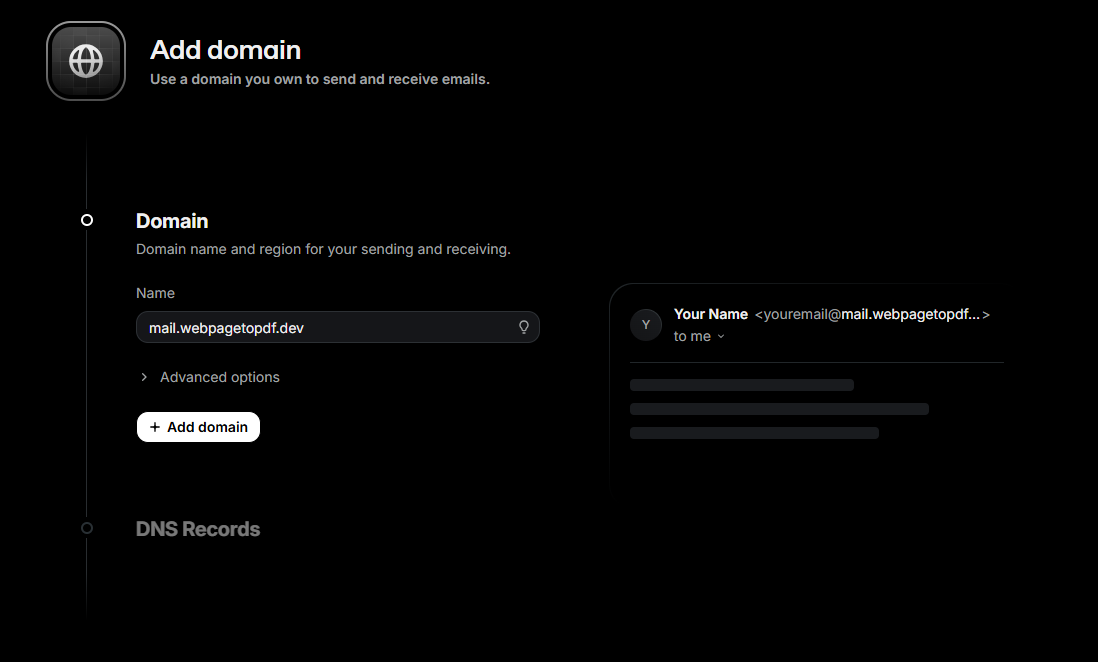
Enter a domain, not an email address such as send@mail.webpagetopdf.dev. Do not add https:// or a path.
Unless you have specific regional or compliance requirements, you can keep the defaults under Advanced options. Resend generates DNS records based on the current settings. Use the values actually shown on your page rather than copying records from the screenshots.
Check the domain and click Add domain.
Choose automatic DNS configuration
After adding the domain, Resend opens DNS Records. Since this guide uses a domain managed by Cloudflare, click Auto configure.
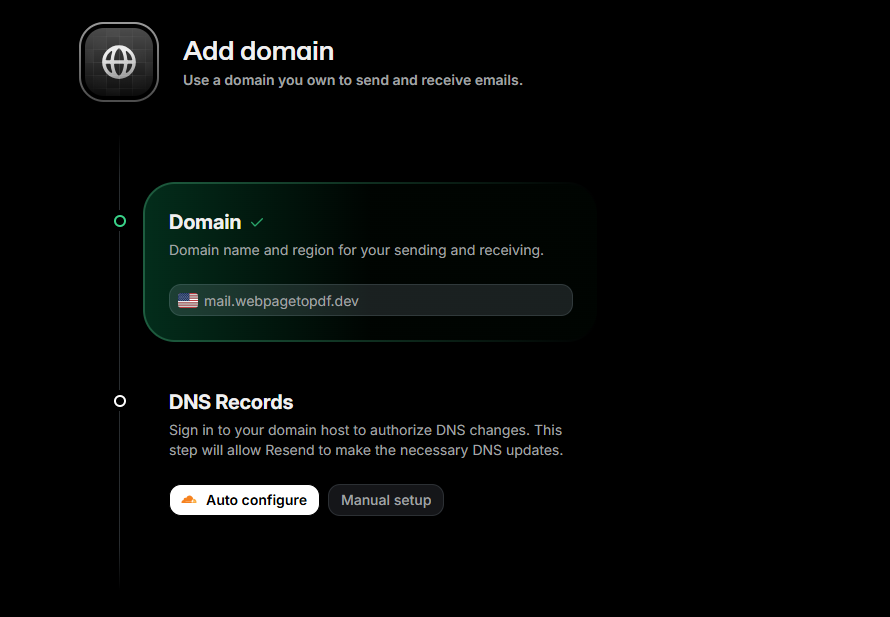
If automatic configuration is unavailable, or you do not want to authorize Resend to write DNS records, choose Manual setup. Add each record under Cloudflare DNS → Records, using the listed type, name, and value.
Authorize DNS changes
Cloudflare lists the records Resend will add. Confirm that the domain is mail.webpagetopdf.dev and all records are DNS only, then click Authorize.
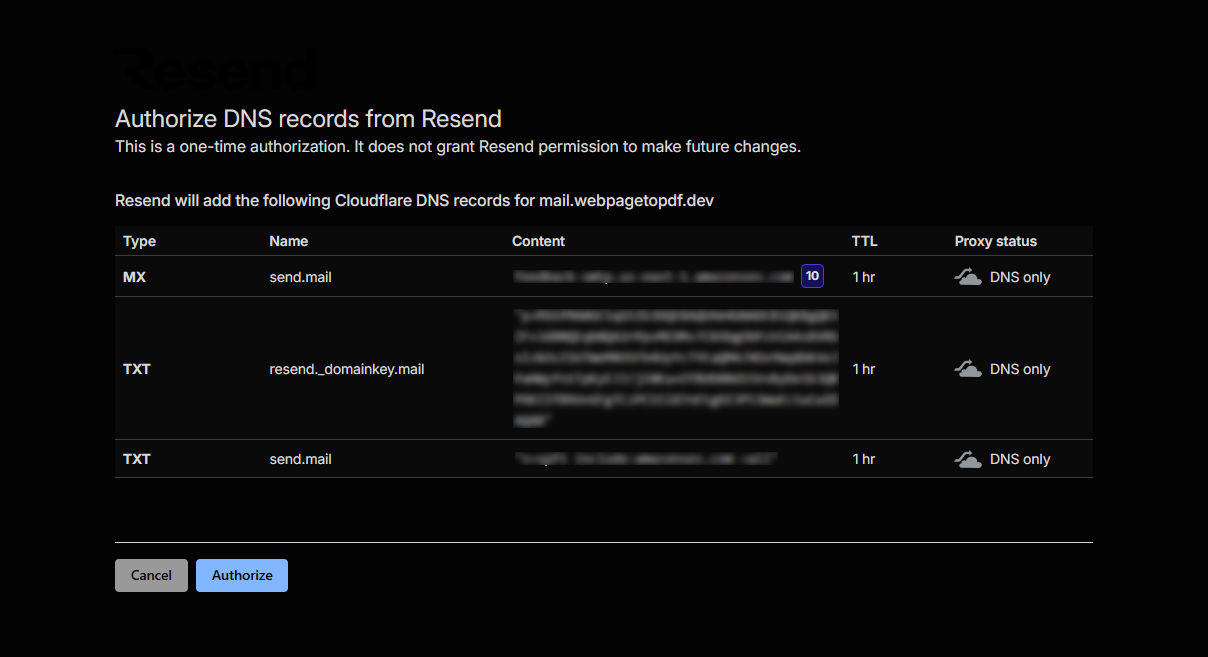
This is a one-time authorization to write only the records listed on the current page. It does not let Resend change the entire domain freely in the future. Record contents are blurred in the screenshot. You must use the values generated on your own page.
Wait for Resend to check DNS
After authorization, you return to the domain details page. Pending status with progress at Checking DNS means the records have been submitted and Resend is waiting for DNS to take effect.
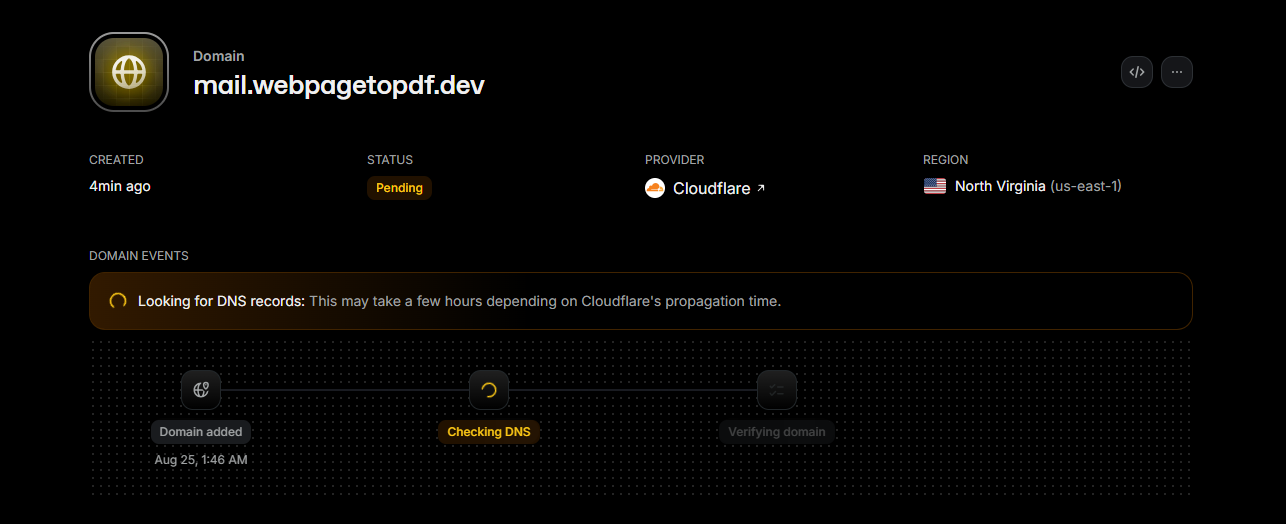
Do not repeatedly delete the domain or authorize access again. You can first confirm that the records appear under Cloudflare DNS → Records, then wait for Resend to continue checking.
Confirm successful verification
Return to Domains. When mail.webpagetopdf.dev shows Verified, your current Resend account can send email from this subdomain.
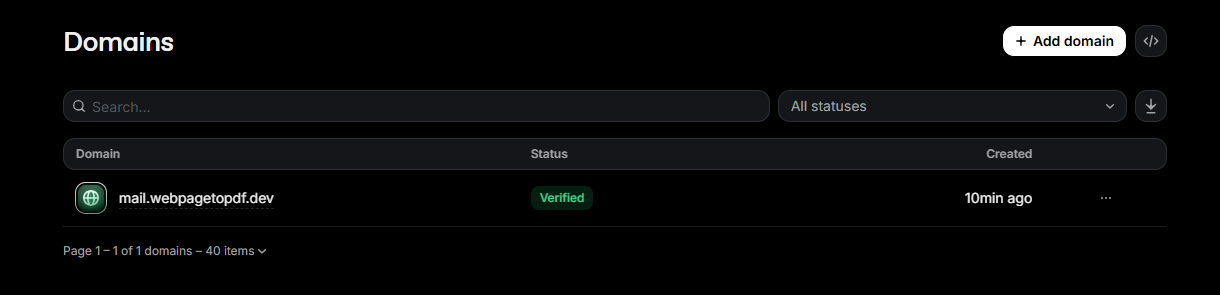
Domain verification does not complete Saavo's setup. You still need to create an API key and add the sender address and key to the project.
Add DNS records manually when needed
After choosing Manual setup, open both Resend's domain details and Cloudflare's DNS → Records. Add each MX, TXT, or CNAME record from Resend's list:
- The type, name, content, and priority must match the Resend page.
- You can leave TTL set to Auto.
- Keep records that support proxying set to DNS only.
- Cloudflare's Name field usually takes the portion relative to the root domain. Check the final full domain shown in the input.
- If a record with the same name already exists, identify the service it belongs to first. Do not delete it immediately or combine the contents of two SPF records yourself.
After saving all records, return to Resend and start verification again.
Check for a duplicated root domain
Cloudflare appends the root domain to some input fields. Check the final name before saving so mail.webpagetopdf.dev does not become mail.webpagetopdf.dev.webpagetopdf.dev. Automatic configuration usually avoids this issue.
Create an API key
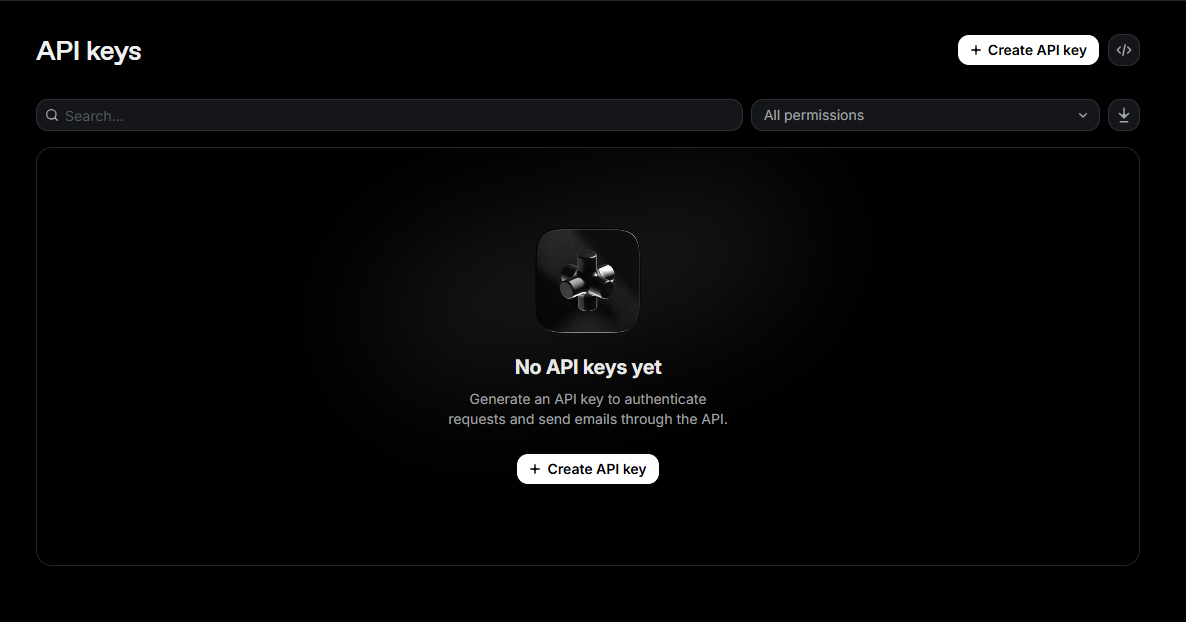
Restrict key permissions
Use a name that identifies the key's purpose, such as email sender or webpagetopdf-production. Set Permission to Sending access, select the verified mail.webpagetopdf.dev under Domain, and click Add.
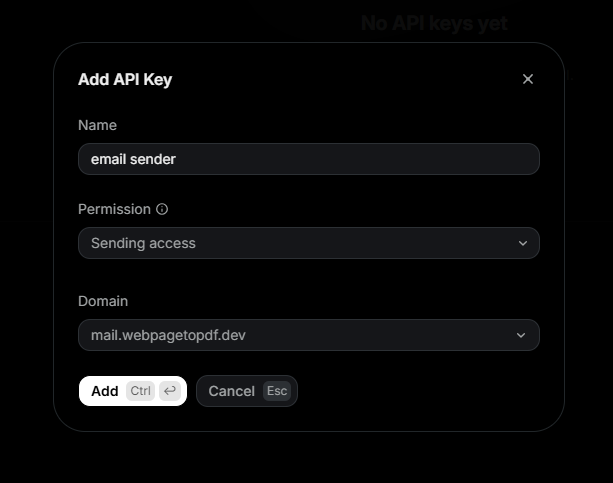
Saavo does not need Full access to send email. Restricting the key to a specific domain prevents this project from sending through other domains you may add to the same Resend account later.
Save the key immediately
Resend displays the full API key after creation. Copy it and save it in a password manager or the .env.production file you will configure later.
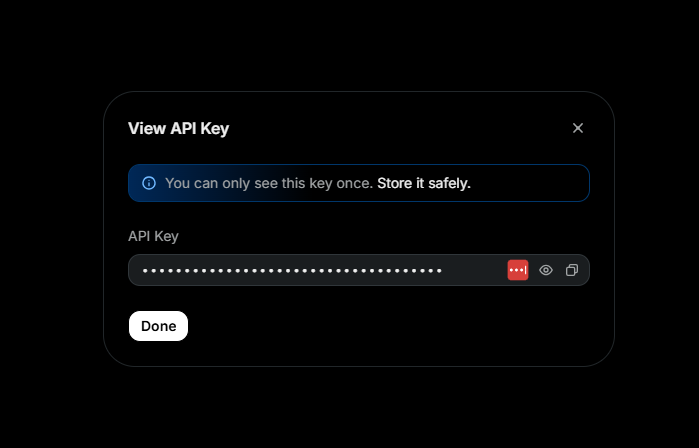
The full key appears only once. Confirm that you have saved it before clicking Done. Do not put it in browser code, screenshots, chat history, or a Git repository.
Revoke exposed keys immediately
If an API key has appeared in a public repository, screenshot, or chat history, return to Resend immediately to revoke it and create a new one. Removing it from a file does not stop someone who already has the key from using it.
Configure Saavo
First confirm that the project uses Resend as its email service. The default template already has this configuration:
emailProvider: {
    type: 'resend',
},
The sender name, sender address, and support address are in config/base.ts:
fromEmailAddress: {
    name: 'Webpage to PDF',
    email: 'send@mail.webpagetopdf.dev',
},
supportEmail: 'support@webpagetopdf.dev',
fromEmailAddress.email must belong to the exact domain you verified. If you verified mail.webpagetopdf.dev, you cannot use send@webpagetopdf.dev as the sender.
Before the initial deployment
Run:
npm run deploy:initThe deployment process asks for these values in order:
Email sender address
Support email address
Resend API key
Enter:
send@mail.webpagetopdf.dev
support@webpagetopdf.dev
The Resend API Key you just created
The script updates both email addresses in config/base.ts and saves the API key to .env.production. The interactive process does not change fromEmailAddress.name. Before deploying to production, open config/base.ts and confirm that it uses your current product name.
After the project has been deployed
First update the sender name, sender address, and support address in config/base.ts, then add the key to .env.production:
RESEND_API_KEY="Your Resend API Key"Then run:
npm run doctor
npm run deploy:update
Do not add the secret only through the Cloudflare Dashboard. Subsequent Saavo deployments still use .env.production as the source of truth. Changing only the remote environment leaves the local record out of sync with the deployment.
Local development does not send real email
npm run dev prints [DEV EMAIL PREVIEW] in the terminal without calling Resend. You can leave RESEND_API_KEY empty in the local .env. Store the production key only in .env.production.
Send a real email
After deployment, verify the complete flow in production:
- Register with an address that can receive email, or request a password reset.
- Check the inbox and spam folder.
- Open Emails in Resend and confirm that the message appears.
- Open the message details and check its sending status.
- Confirm that From is
send@mail.webpagetopdf.devand Reply-To issupport@webpagetopdf.dev. - Reply directly to the test message and confirm that the support mailbox receives it.
Verified only means Resend accepts the sending domain. It does not prove that the project settings, production key, and support mailbox are correct. Email setup is complete only after the entire flow passes.