Payments and plans
Stripe Checkout, subscriptions, one-time purchases, the billing portal, and the payment lifecycle. Define your product catalog and connect Stripe to start charging without rebuilding the payment system.
The Saavo template includes a complete billing flow: a product catalog, Stripe Checkout, subscriptions and one-time purchases, webhook synchronization, a billing portal, purchased products and payment records, and automatic role and entitlement grants or revocations following purchases.
You generally do not need to rebuild the payment system for your product. Define the plans and prices you want to sell, configure Stripe and webhooks, and use the user's granted entitlements to control access in business pages and APIs.
Available features
After template initialization, these billing features are available:
| Feature | Default entry point | Default status |
|---|---|---|
| Pricing display | Homepage #pricing | Displays example subscription plans |
| Start checkout | POST /api/payments/checkout/:productId/:planId | Implemented, requires sign-in |
| Subscriptions | Example product saavo_starter | Monthly and annual examples configured |
| Outright purchase | The same Checkout flow | Supported, but the default example has no Lifetime plan |
| Billing portal | POST /api/payments/stripe/billing | Available to users who have purchased |
| Stripe webhook | POST /api/webhooks/stripe | Implemented |
| Purchased products | /account | Visible to signed-in users |
| Payment records | /account/payments | Visible to signed-in users |
| Subscription management | /dashboard/payments/subscriptions | Accessible to administrators |
| One-time order management | /dashboard/payments/purchases | Accessible to administrators |
After a successful payment, Saavo automatically grants roles and entitlements according to the plan's access configuration. When a subscription changes, is canceled, or ends, the corresponding grants are adjusted with the payment lifecycle.
The template deliberately provides no refund endpoints. Its purpose is to synchronize selected states, rather than act as a proxy for managing a third-party payment system. Highly sensitive operations such as refunds should be performed in that payment system. If you need to revoke roles and entitlements after a refund, remember to do so manually in the dashboard.
Currently, Saavo only synchronizes third-party refund results, primarily for users to look up and analyze. Further refund-related behavior is not implemented in the default template. If your business needs it, you must implement the corresponding code.
Do not create a separate Checkout flow, call the Stripe SDK directly in business code, verify webhooks yourself, or manually write entitlements and roles from a payment success page.
Business code should use the purchase and authorization results Saavo has already produced.
Try the purchase flow first
Before changing the product catalog, you should review the template's pricing and purchase interfaces. Start the development server and open the homepage. The pricing navigation item links to #pricing.
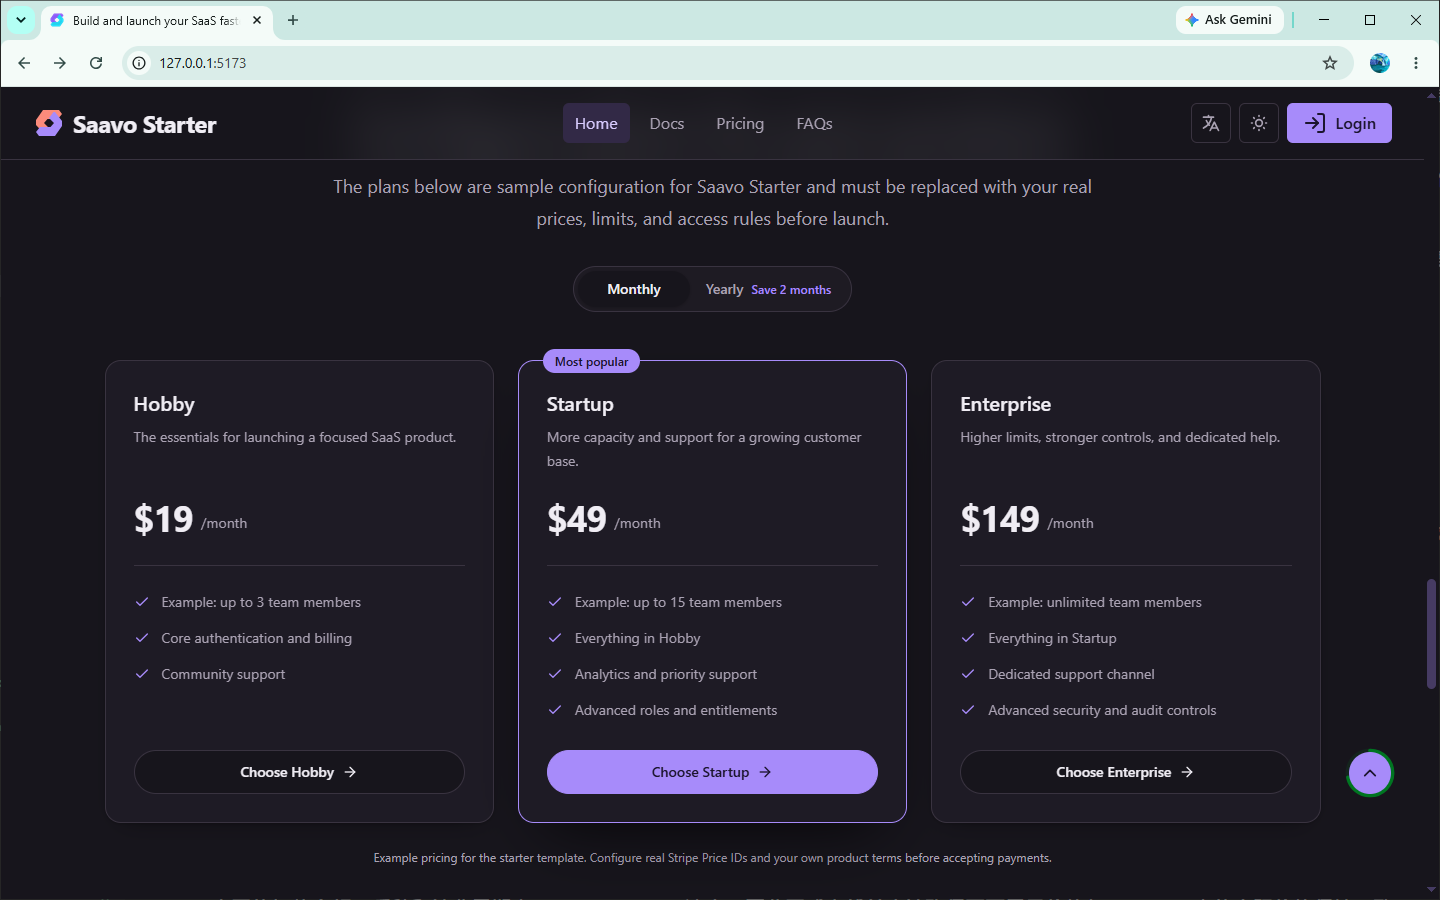
The default example product, saavo_starter, offers Hobby, Startup, and Enterprise tiers, with a switch between monthly and annual billing:
Hobby      $19 / month   or   $190 / year
Startup    $49 / month   or   $490 / year    (recommended)
Enterprise $149 / month  or   $1,490 / year
These prices come from salePrice in config/products.ts and are for display only.
The Stripe Price determines the actual charge, currency, and billing interval. Before launch, make sure displayed prices match the prices in Stripe.
Tip
This is not enforced, but users expect the initial price they see to match the final amount they pay.
Signed-out users must sign in before purchasing. Saavo does not support anonymous purchases by default because the current billing system uses the user's email address to associate them with a customer account on the payment platform.
After signing in, users can access purchased products, payment records, and the Stripe billing portal from their account:
/account            Purchased products
/account/payments   Payment history and Stripe Billing Portal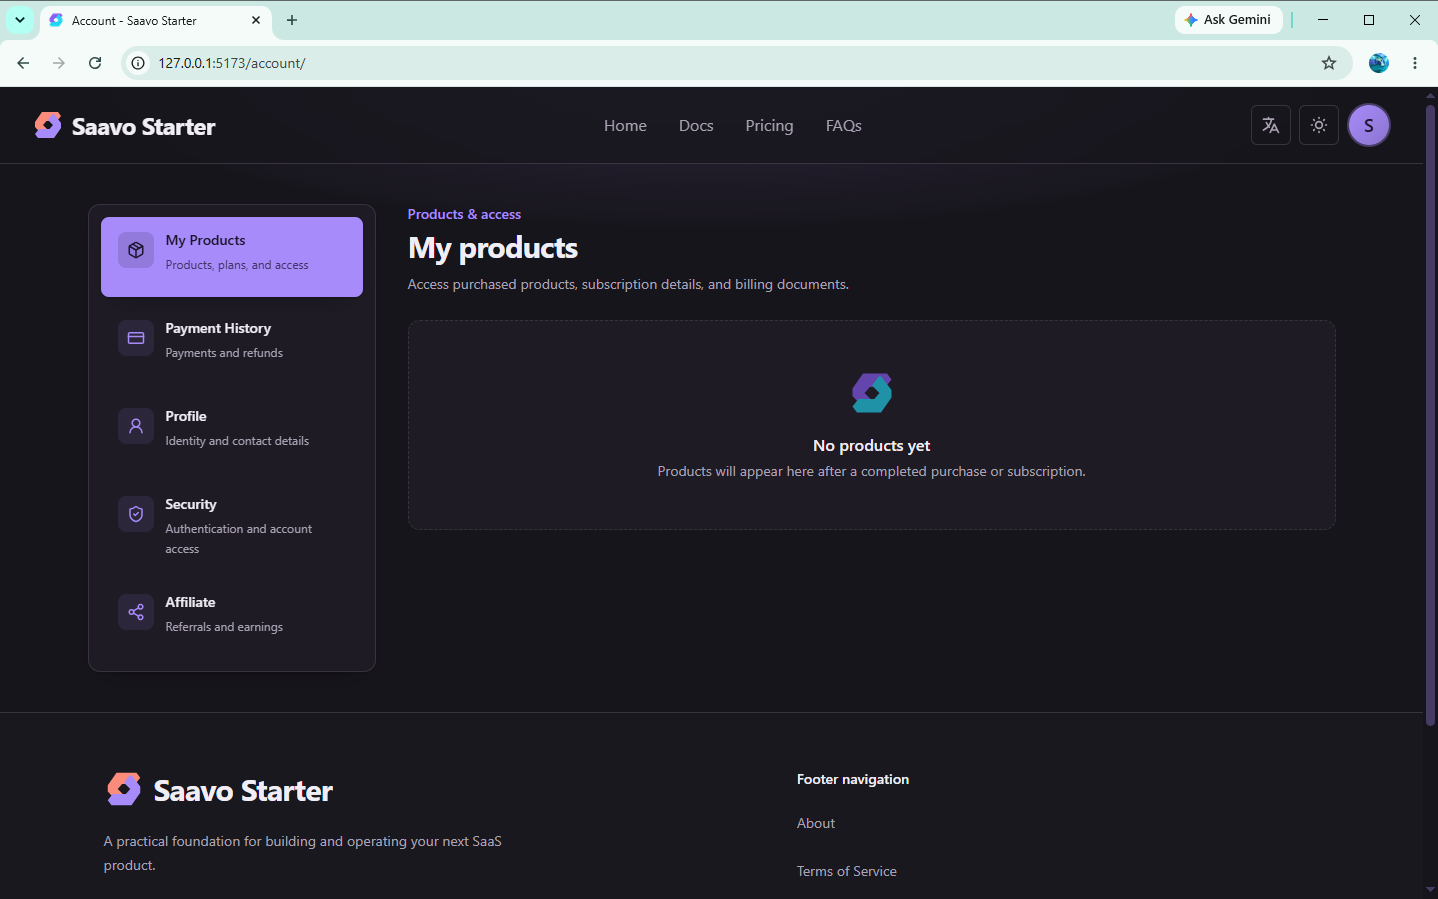
Administrators can also view subscription and one-time purchase records on these pages:
/dashboard/payments/subscriptions   Subscriptions
/dashboard/payments/purchases       One-time purchases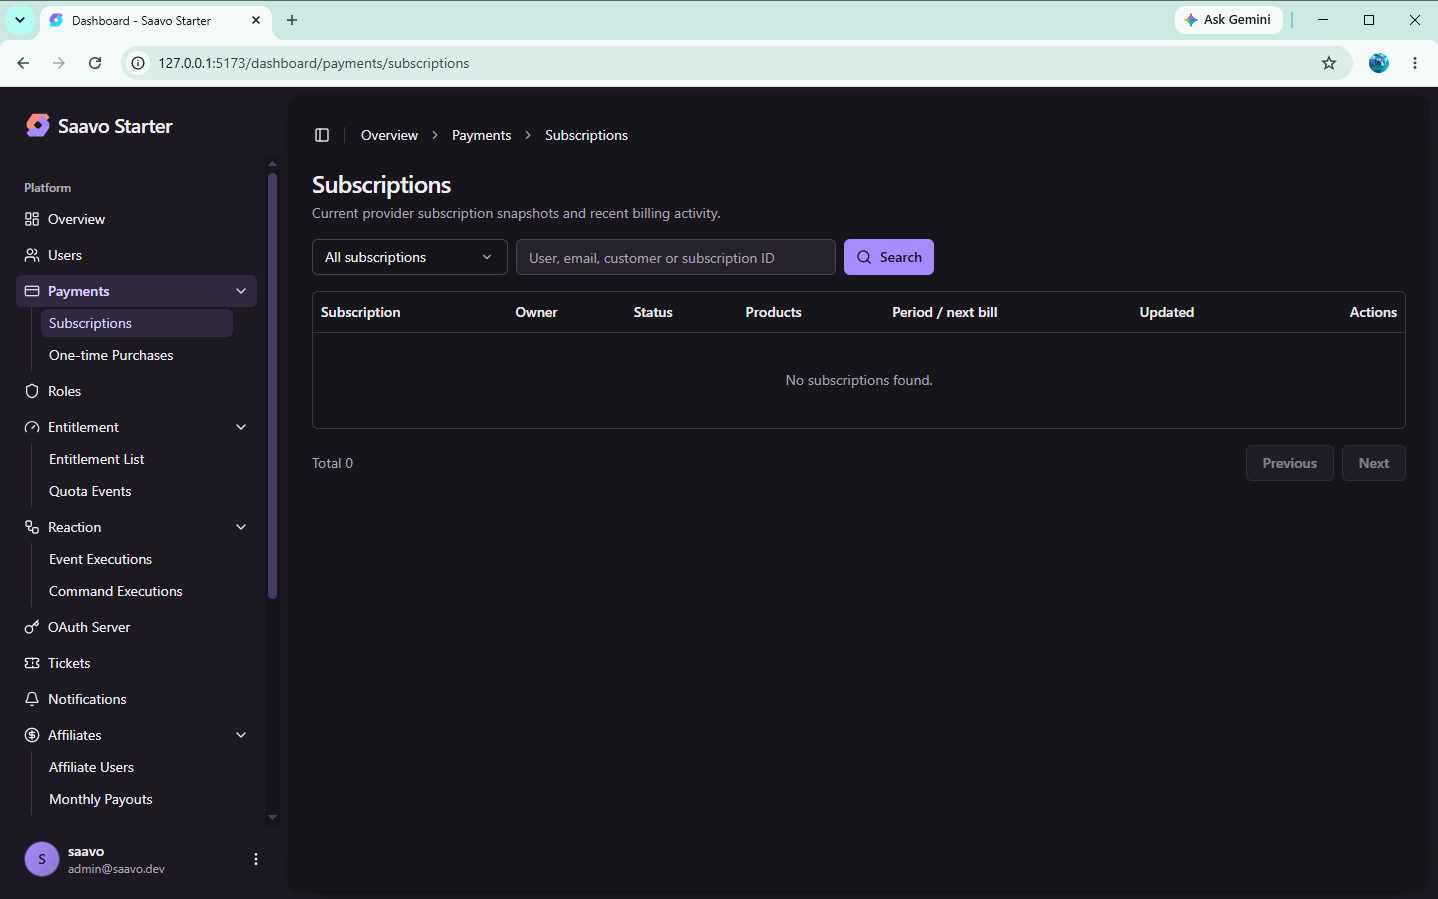
Tip
Price IDs in the default product catalog are still *_replace_me placeholders. Pricing can display correctly, but Checkout cannot complete until you configure Stripe keys and replace the placeholders with real Price IDs. This is the template's default state, not a billing module error.
After configuring Stripe, a normal purchase follows this general flow:
The user selects a plan
↓
Sign in
↓
Open Stripe Checkout
↓
Complete payment
↓
Saavo synchronizes the payment result
↓
Grant roles and entitlements from the plan's access configuration
↓
The user starts using paid features
Users can later cancel subscriptions, change payment methods, or view invoices through Stripe Billing Portal. You do not need to implement another billing management interface.
Configure products and billing
The default product catalog primarily demonstrates the template's capabilities.
For your own product, decide what to sell, how to charge for it, and what users receive after payment.
Define what you sell
The product catalog is defined in:
config/products.tsThe template includes a subscription product, saavo_starter, with monthly and annual billing defined as separate plans. Each plan maps to a Stripe Price through priceId.
Common fields include:
| Field | Meaning |
|---|---|
type | 'recurring' for subscriptions, 'one-time' for one-time purchases |
interval / intervalCount | Subscription interval, such as monthly or annual |
priceId | Corresponding Stripe Price ID |
salePrice | Display price |
title / description / features | Pricing card content |
default | Whether this is the default plan |
recommended | Whether to show a recommendation badge |
allowRepurchase | Whether users who have purchased can purchase again |
access.roles | Roles granted after purchase |
access.entitlements | Entitlements granted after purchase |
The plans configuration is flat. Each plan declares its billing interval and priceId directly:
saavo_starter
└── plans
    ├── license            Hobby monthly → One Stripe Price
    ├── hobby_yearly       Hobby yearly → One Stripe Price
    ├── startup_monthly    Startup monthly → One Stripe Price
    ├── startup_yearly     Startup yearly → One Stripe Price
    ├── enterprise_monthly Enterprise monthly → One Stripe Price
    └── enterprise_yearly  Enterprise yearly → One Stripe Price
Hobby, Startup, and Enterprise are commercial tiers displayed on the page, not another layer of objects wrapping monthly and annual plans. To add a billing interval, add the corresponding plan to plans.
The homepage pricing section uses saavo_starter as its main product by default. When building a SaaS product from the template, a simple approach is to keep this Product ID and replace the product name, plans, prices, and entitlements.
Every placeholder such as:
price_hobby_monthly_replace_memust be replaced with an existing Stripe Price ID before testing payments.
Replace all example plan names, descriptions, and feature lists with your own product content as well.
For the full process of adding a plan, see:
Choose subscriptions or one-time purchases
All default examples use subscriptions.
Subscriptions suit products that provide an ongoing service, for example:
$19 / month
$190 / year
If your product offers an outright purchase, license, or Lifetime option, you can create a one-time plan:
lifetime: {
    type: 'one-time',
    priceId: 'price_your_test_or_live_id',
    allowRepurchase: false,
    salePrice: '$199',
    title: {
        value: 'Lifetime',
    },
    access: {
        roles: ['premium'],
        entitlements: [
            {
                target: 'starter_download',
                config: {
                    kind: 'boolean',
                    priority: 100,
                    description: 'Lifetime access',
                },
            },
        ],
    },
},
One-time purchases and subscriptions use the same Checkout flow. The plan's type determines the main difference.
The default homepage pricing component is designed primarily for monthly and annual subscriptions. It does not automatically display one-time plans.
For a Lifetime plan, add a separate purchase entry point on your business page.
One-time purchase records appear at:
/dashboard/payments/purchasesFor a complete example, see:
Subscription plans can also define a trial period, for example:
trialPeriod: '14 days',The default behavior when the trial ends is controlled by config/payment.ts:
subscriptionTrialEndBehavior: 'cancel',Define what a purchase grants
The billing system answers:
Has the user completed the purchase?
The plan's access determines:
What does the user receive after purchasing?
For example, a plan can configure:
access: {
    roles: ['premium'],
    entitlements: [
        {
            target: 'starter_download',
            config: {
                kind: 'boolean',
                priority: 100,
            },
        },
    ],
},
After a successful purchase, Saavo automatically grants the corresponding role and entitlement from this configuration.
The relationship is:
The user purchases a plan
↓
Plan access
├── roles
└── entitlements
        ↓
Capability
        ↓
Unlock application features
For paid features, check entitlements or capabilities rather than relying only on a role named premium.
Depending on the business, you can use several independent layers of checks. Roles can determine which pages and features users can access. Entitlements can determine whether they have permission for certain operations. Current capabilities can also determine whether an operation is allowed.
Although these concepts are related, you can use one or several checks according to your needs. In most cases, roles and entitlements are enough, without capability checks. If several roles or entitlements provide the same business capability, you can check that capability consistently across them.
Plans that limit usage counts, quotas, or credits need Numeric entitlements, with quota consumed after the business operation succeeds.
For details, see:
Configure post-payment redirects
By default, successful Stripe Checkout returns to /account, and leaving the billing portal returns to the homepage:
stripe: {
    checkout: {
        successRedirectPath: '/account',
        fallbackRedirectPath: '/',
    },
    billingPortal: {
        returnRedirectPath: '/',
        fallbackRedirectPath: '/',
    },
}
In an actual SaaS product, users should generally enter the application after paying.
For example, if the main interface is at /app:
stripe: {
    checkout: {
        successRedirectPath: '/app',
        fallbackRedirectPath: '/',
    },
    billingPortal: {
        returnRedirectPath: '/account/payments',
        fallbackRedirectPath: '/',
    },
}
The resulting flow is:
Checkout succeeds → /app
Checkout cannot continue → /
Leave the Billing Portal → /account/payments
We recommend updating these paths early during product initialization so users do not return to the template's default pages after payment.
Adjust Stripe Checkout
You can adjust some Checkout behavior in config/payment.ts:
stripe: {
    enableAutomaticTax: true,
    enablePromoCodes: true,
    enableTaxIdCollection: false,
    enableTermsOfServiceConsent: false,
    enableInvoiceCreation: false,
}
To have Stripe calculate applicable taxes automatically, keep:
enableAutomaticTax: trueTo let users enter promotion codes in Checkout:
enablePromoCodes: trueFor a business-oriented product that needs to collect tax IDs:
enableTaxIdCollection: trueTo require users to accept the terms of service before paying:
enableTermsOfServiceConsent: trueTo have Stripe create an invoice for a one-time purchase, enable:
enableInvoiceCreation: trueSubscriptions already bill through invoices, so they generally do not depend on this setting.
Plans can also specify a Stripe Coupon. When a plan has a preset Coupon, Checkout applies it automatically. Otherwise, enablePromoCodes can allow users to enter their own promotion code. To display and apply different Coupons for different channels through dedicated links, see Coupon offers.
Prepare Stripe services
Billing logic is built into the template, but actual charges still require a Stripe account, keys, Products, Prices, and webhooks.
We recommend testing the complete flow in Stripe test mode before switching to live mode.
Configure Stripe keys
Local development requires at least:
STRIPE_CONNECTION_ID=stripe-test
STRIPE_SECRET_KEY=sk_test_...
STRIPE_WEBHOOK_SECRET=whsec_...
These settings have the following purposes:
STRIPE_SECRET_KEY is the Stripe Secret Key. Use test-mode keys for development and testing. Production must use live-mode keys.
STRIPE_WEBHOOK_SECRET is the webhook endpoint's signing secret. It must match the endpoint actually receiving events.
STRIPE_CONNECTION_ID distinguishes Stripe connections and environments.
For example:
Local / test environment → stripe-test
Production environment   → stripe-live
Avoid changing STRIPE_CONNECTION_ID casually after production launch. Otherwise, the same Stripe objects may be recognized as data belonging to a different connection.
Restart the development server after changing .env.
Create Products and Prices in Stripe
Open the Stripe Dashboard and switch to test mode.
Create Products and Prices corresponding to the plans in config/products.ts.
Then replace every:
priceId: 'price_xxx_replace_me'with a real Stripe Price ID.
The relationship is:
config/products.ts
plan.priceId
↓
Stripe Price ID
↓
Stripe Checkout
↓
Webhook
↓
Match the local plan
↓
Grant access
The priceId must exactly match the Stripe Price used by the plan.
The priceId, Stripe account, and test/live mode must also align.
For example, if the local environment uses:
STRIPE_SECRET_KEY=sk_test_...then priceId must also belong to test mode in that same Stripe account.
The page's salePrice does not affect Stripe's actual charge.
Before launch, check:
Displayed salePrice
≈
Stripe Price
Users should not see $19 on the pricing page and a different price in Checkout.
Configure webhook callbacks
Saavo's Stripe webhook endpoint is:
POST /api/webhooks/stripeA production URL might be:
https://your-domain.com/api/webhooks/stripeCreate a webhook endpoint in the Stripe Dashboard and subscribe to the payment lifecycle events Saavo uses.
After creating it, save the endpoint's Signing Secret in:
STRIPE_WEBHOOK_SECRET=whsec_...Production requires a production HTTPS domain and a webhook endpoint and signing secret created in live mode.
For the complete production callback addresses, see:
Test payments locally
Stripe cannot access your local development server directly, so local webhook testing requires forwarding events to your machine.
Stripe CLI is recommended:
stripe listen --forward-to localhost:5173/api/webhooks/stripeAfter starting, the CLI prints a temporary Webhook Secret:
whsec_...Save it locally:
STRIPE_WEBHOOK_SECRET=whsec_...Then restart the development server.
If the local server uses a port other than 5173, replace the port in the command with the actual port.
Once configured, you can complete a purchase using the test payment methods provided by Stripe test mode.
Local testing should verify the full flow beyond successful Checkout payment:
Checkout succeeds
↓
The webhook arrives
↓
A local purchase record is created
↓
Access is granted
↓
Paid features become accessible
If Checkout succeeds but the webhook does not arrive correctly, complete purchase and authorization results usually will not be created locally.
Use payment results in business code
With the product catalog and Stripe configured, the billing system can start working.
Business code should now focus on using the authorization results the billing system produces, rather than continuing to operate Stripe directly.
The basic rule is:
Do not call the Stripe SDK directly in business code, query payment tables yourself, or manually grant entitlements on the Checkout success page.
Saavo already handles purchases, synchronization, grants, and revocation through Checkout, webhooks, and the payment lifecycle.
Business code only needs to answer:
Does the current user have the permissions required for this feature?
Protect paid features
For example, if downloads require a particular plan, check the entitlement directly:
const allowed = await authz.hasEntitlement(
    c,
    'starter_download',
);

if (!allowed) {
    return c.redirect(
        getFullPath('/#pricing', locale),
    );
}
You can also check a capability:
const allowed = await authz.hasEntitlementCapability(
    c,
    'starter.download',
);
The payment lifecycle handles grants after purchase and revocation when subscriptions end. There is no need to insert permission data manually on the Checkout success page.
APIs should perform the same checks on the server:
if (!await authz.hasEntitlement(c, 'starter.download')) {
    return c.json(
        {
            success: false,
            code: gResultCode.authPermissionDenied,
            error: 'api.auth.permissionDenied',
        },
        403,
    );
}
A common request flow is:
Request
↓
authenticatedGuard()
↓
authContext
↓
authz.hasEntitlement()
↓
Business Logic
Authentication answers:
Who is the current user?
The billing and entitlement systems then determine:
Which roles and entitlements does the user have, and which operations can they perform?
For a complete example, see:
Check whether a user has purchased
Sometimes you need to know whether a purchase has occurred, rather than whether the user currently has a capability:
Has this user already purchased this plan?
Use:
await authz.hasPurchasedProduct(
    c,
    productId,
    planId,
);
This serves a different purpose from an entitlement check.
For subscriptions, it primarily checks whether a valid purchase relationship currently exists for that plan.
For one-time plans, it checks whether the user has completed the corresponding purchase.
Therefore:
Can the user access paid features?
→ Check the entitlement / capability

Can the user purchase the same plan again?
→ Check hasPurchasedProduct()
Checkout uses similar logic to prevent repeat purchases when allowRepurchase: false.
Start purchases from business pages
The homepage pricing section already supports the purchase flow. To add a purchase button to a business page, use the same Checkout API:
POST /api/payments/checkout/:productId/:planIdThe frontend only needs to pass:
productId
planId
For example:
async function buy(productId: string, planId: string) {
    const result = await postService<{ type: 'redirect'; url: string }>(
        `/api/payments/checkout/${productId}/${planId}`,
    );

    if (!result.success) {
        return;
    }

    if (result.data.type === 'redirect') {
        replace(result.data.url);
    }
}
If the user is not signed in, you can open the sign-in modal first:
const { isLoggedIn } = useCurrentUser();

if (!isLoggedIn) {
    setLoginModalOpen(true);
    return;
}
The server uses productId and planId to find the plan, then creates a subscription Checkout or one-time payment Checkout according to its type.
Frontend sign-in and button states only improve the user experience. Access to paid features must still be checked on the server through entitlements or capabilities.
Tip
Avoid exposing Stripe Price IDs directly to the frontend as business parameters.
Manage billing from the account page
Saavo already provides account-level billing information in /account, so you do not need to build separate billing settings.
Items that belong in the account area include:
- Purchased products
- Payment records
- Stripe Billing Portal
- Access to invoice and payment method management
Users can cancel subscriptions, change credit cards, or view Stripe invoices through Billing Portal.
Billing information specific to your SaaS product belongs on business pages.
For example, an AI product might also need:
Current remaining quota
Usage this month
Upgrade the plan
Credit usage history
Workspace billing status
These fit better in the product's own dashboard. You can also reuse and adapt the account area's product purchase page for your business needs.
A simple rule is:
Keep information about what an account has purchased and how it pays in
/account. Put information about how the product uses those purchases on business pages.
Pre-launch checks
The billing system is a foundational feature that must be fully verified before launch.
We recommend checking at least these flows:
- No
*_replace_mePrice IDs remain inconfig/products.ts. - Pricing page names, prices, descriptions, and feature lists describe your product.
- Displayed prices match Stripe Prices.
- Each plan's
access.roles/access.entitlementsmatches its actual paid capabilities. - Signed-out users must sign in before purchasing.
- Subscription purchases complete in Stripe test mode.
- Any one-time plans have also been tested through a full purchase.
- Webhooks arrive after successful Checkout.
- Purchased products appear in
/account. -
/account/paymentsshows payment records and opens Billing Portal. - The corresponding entitlements / capabilities take effect after purchase.
- Paid features are accessible.
- After cancellation, entitlements are revoked when the subscription actually ends.
- Administrators can view subscription and one-time purchase records in the dashboard.
- Checkout success and Billing Portal return paths point to your product's pages.
- Production uses live-mode Stripe keys.
- Production uses its own
STRIPE_CONNECTION_ID. - The production webhook uses the production HTTPS domain.
- Test and live Secret Keys, Webhook Secrets, and Price IDs are not mixed.
We recommend using a newly registered ordinary user to test the entire flow from sign-up:
Sign up
↓
Sign in
↓
Purchase
↓
Webhook
↓
Receive entitlements
↓
Use paid features
↓
Open the Billing Portal
↓
Cancel the subscription
↓
The subscription ends
↓
Entitlements are revoked
This is more reliable than checking only that Stripe displays a successful payment.
Frequently asked questions
Next steps
Choose further reading based on what you plan to build:
- Design billing for a real product → WebpageToPDF tutorial
- Add a Stripe plan → Add a Stripe plan
- Add Lifetime or one-time purchases → One-time plans
- Restrict paid features → Features that require payment
- Implement usage limits or credits → Define plans and integrate entitlements
- Learn about roles and entitlements → Permissions and entitlements
- Configure affiliate commissions → Affiliate program
- Look up payment tables and fields → Database
Most products will not need further changes to the payment system after completing this chapter.
You can now use the current user's purchase and authorization results to integrate the business features you want to charge for.