Integrate Stripe payments
Configure Stripe Products, Prices, and webhooks, and connect the purchase flow to entitlement grants.
The previous article defined plans and entitlements and implemented usage limits. This article configures Stripe to connect purchases, payment notifications, and entitlement grants into a complete flow.
Integrate the payment system
The product configuration in products.ts is complete. Now we need to connect an actual payment system.
This example uses Stripe and assumes you have already signed up and enabled payment collection. For an initial integration, test Checkout and webhooks in test mode before switching to live mode. Each environment has its own products, Price IDs, and keys. Do not mix them.
Create products
Next, you can ask AI to create a logo for the website. I usually use the site logo as the product image. Alternatively, you can generate separate product images based on the configuration in products.ts.
Ask AI to generate names and descriptions from the configuration so you can add the products in Stripe. Here is the prompt I used:
I want to publish these products on Stripe. Generate a name and description for each, including the credit packs.
AI generated this table:
| Product | Name | Description |
|---|---|---|
| Pro membership | Webpage to PDF Pro | Get 60 minutes of webpage conversion time every day across Quick Convert, Custom, and Visual Editor, plus 500 API conversion credits each month. Failed conversions do not use your allowance. |
| 500-credit pack | Webpage to PDF API Credits — 500 | 500 prepaid credits for successful API conversions. One successful conversion uses one credit. Purchased credits do not expire, and failed conversions do not use credits. |
| 2,000-credit pack | Webpage to PDF API Credits — 2,000 | 2,000 prepaid credits for successful API conversions. One successful conversion uses one credit. Purchased credits do not expire, and failed conversions do not use credits. |
| 10,000-credit pack | Webpage to PDF API Credits — 10,000 | 10,000 prepaid credits for successful API conversions. One successful conversion uses one credit. Purchased credits do not expire, and failed conversions do not use credits. |
Although credit packs will not appear on the website in the first release, you can create these products in Stripe now and enable their plans when the API becomes available.
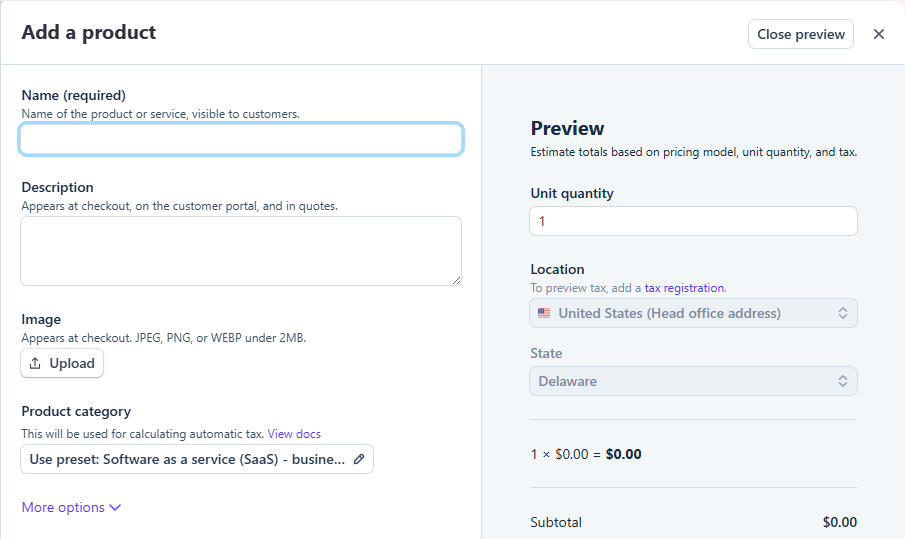
Open Stripe's Product catalog page and click Create product in the upper right. Enter the values from the table into the corresponding fields, then click Add product.
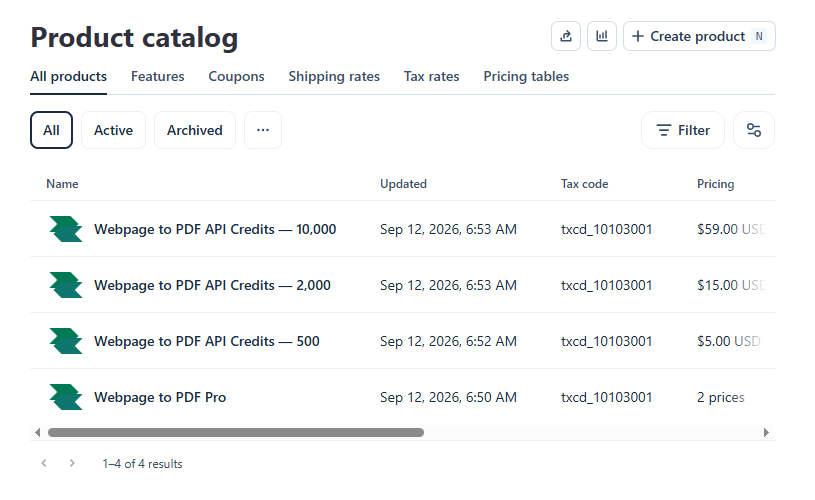
The resulting product list looks like this:
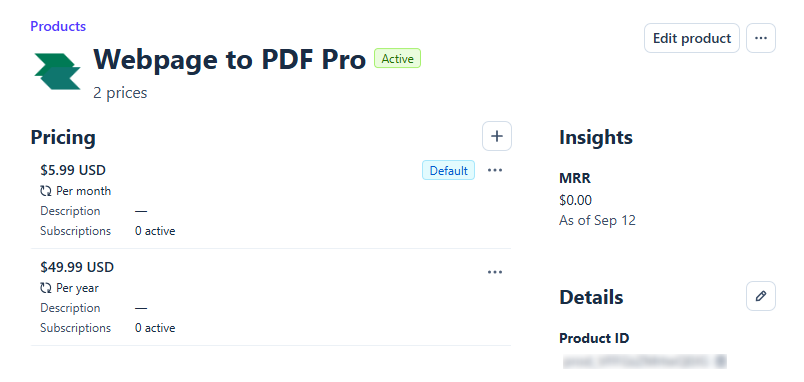
Next, add the Price IDs for the products and credit packs to config/products.ts. For example, click the Pro membership product you just created to view its Pricing list:
Click a list item to view its pricing details, or open its action menu on the right and select Copy price ID.
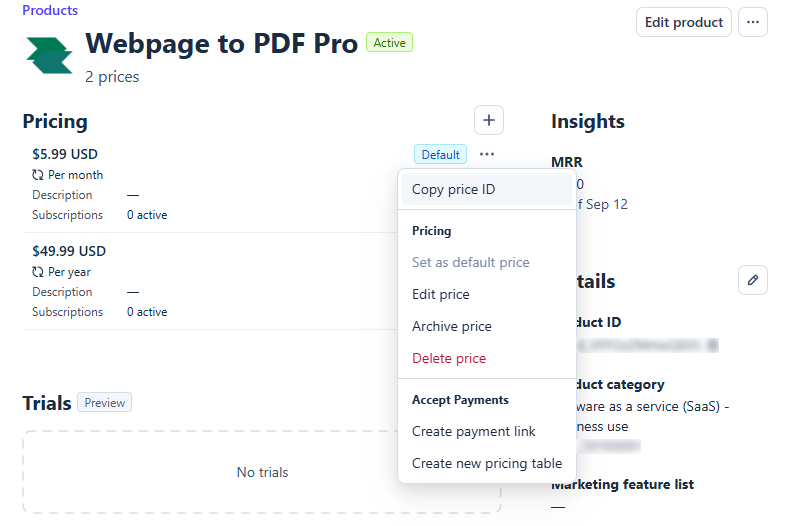
Repeat these steps to complete the product configuration in config/products.ts, replacing the priceId fields with the corresponding Price IDs. Each plan needs its own Price ID. In particular, the monthly and annual Pro plans must use their respective IDs. Mixing them up will prevent the payment system from charging correctly.
Configure webhooks
Stripe webhooks notify us when users complete payments. These notifications let us update order statuses in the database, along with the corresponding entitlements and quotas.
To configure a webhook, first click Developers at the bottom of the Stripe Dashboard:
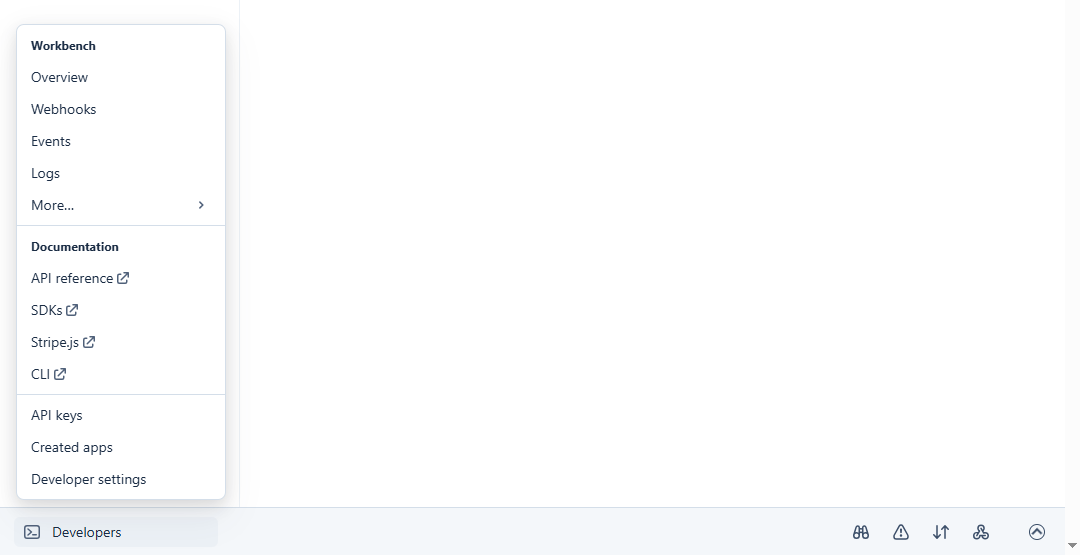
Select the Webhooks panel:
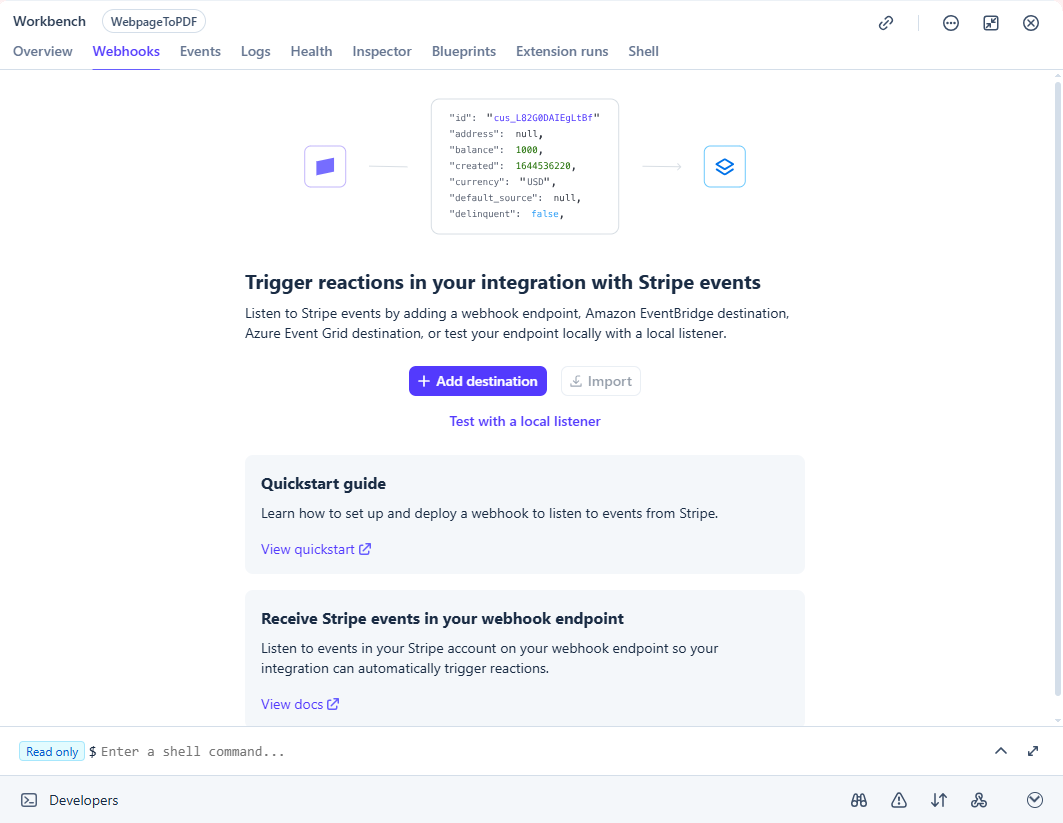
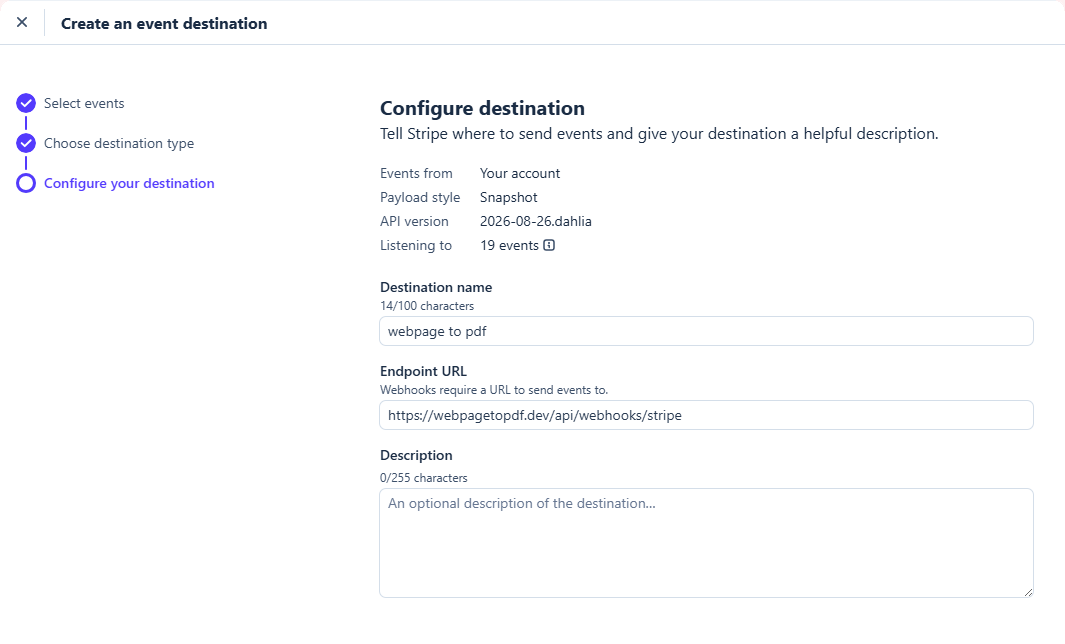
Click Add destination in the middle of the page to open Create an event destination:
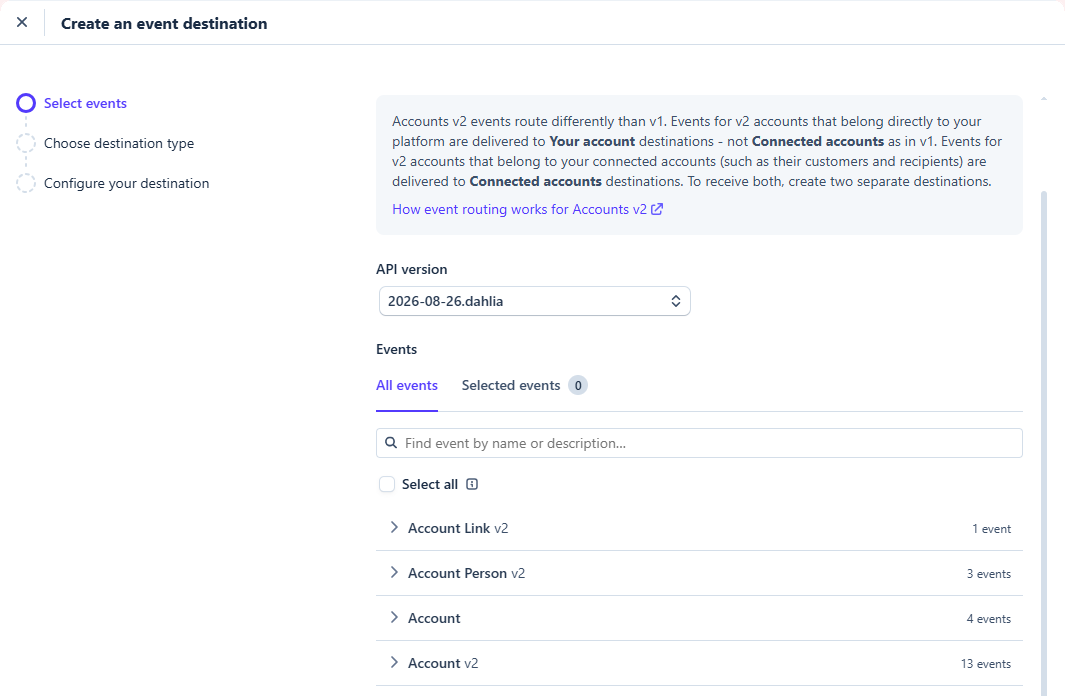
Select the events the website needs. The current Saavo project uses the following events:
checkout.session.completed
checkout.session.async_payment_succeeded
checkout.session.async_payment_failed
checkout.session.expired
customer.subscription.created
customer.subscription.updated
customer.subscription.paused
customer.subscription.resumed
customer.subscription.deleted
invoice.finalized
invoice.finalization_failed
invoice.paid
invoice.payment_failed
invoice.payment_action_required
invoice.marked_uncollectible
invoice.voided
refund.created
refund.updated
refund.failed
There are 19 events in total:
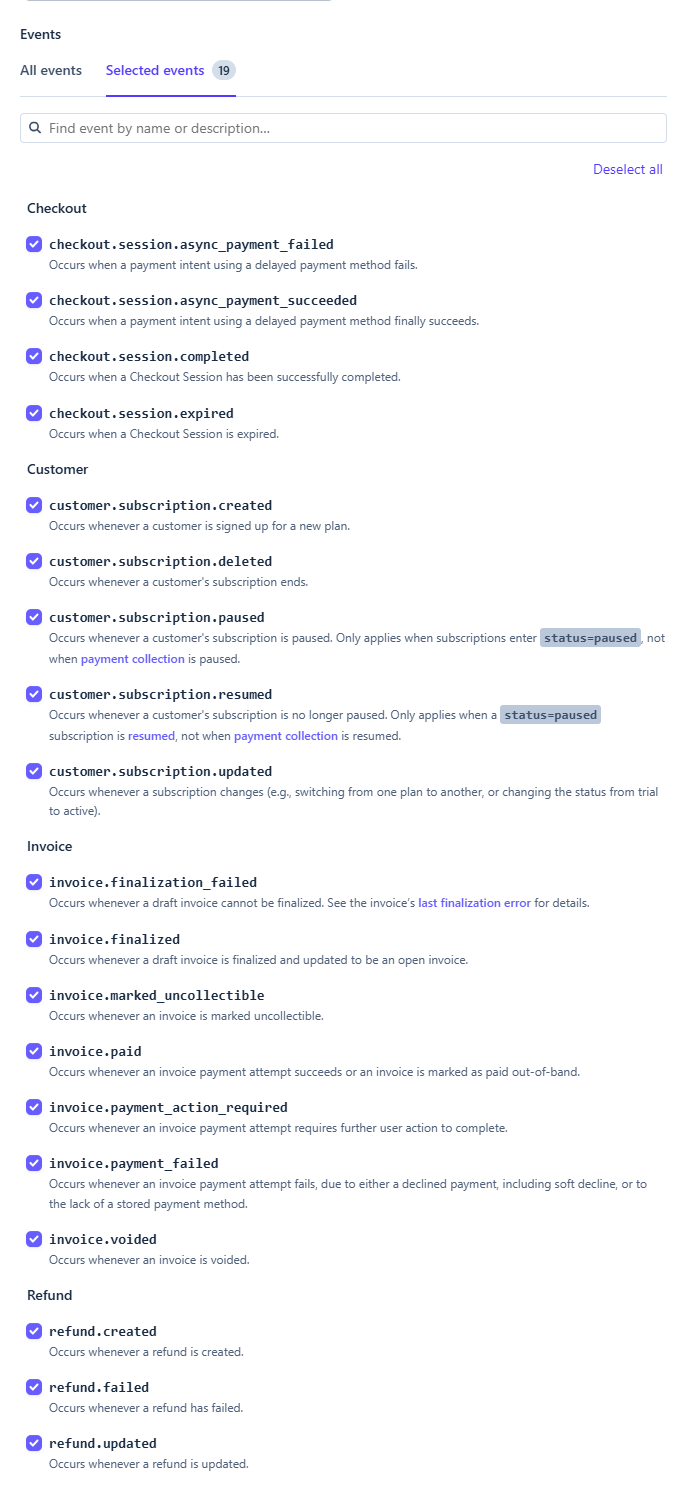
Click Continue and select the Webhook endpoint type on the next page. Confirm, then follow the prompts to fill out the form and create the destination.
Save the keys locally
After you create the webhook, Stripe generates a Webhook Secret that you need to save in the local environment variables. It starts with whsec_.
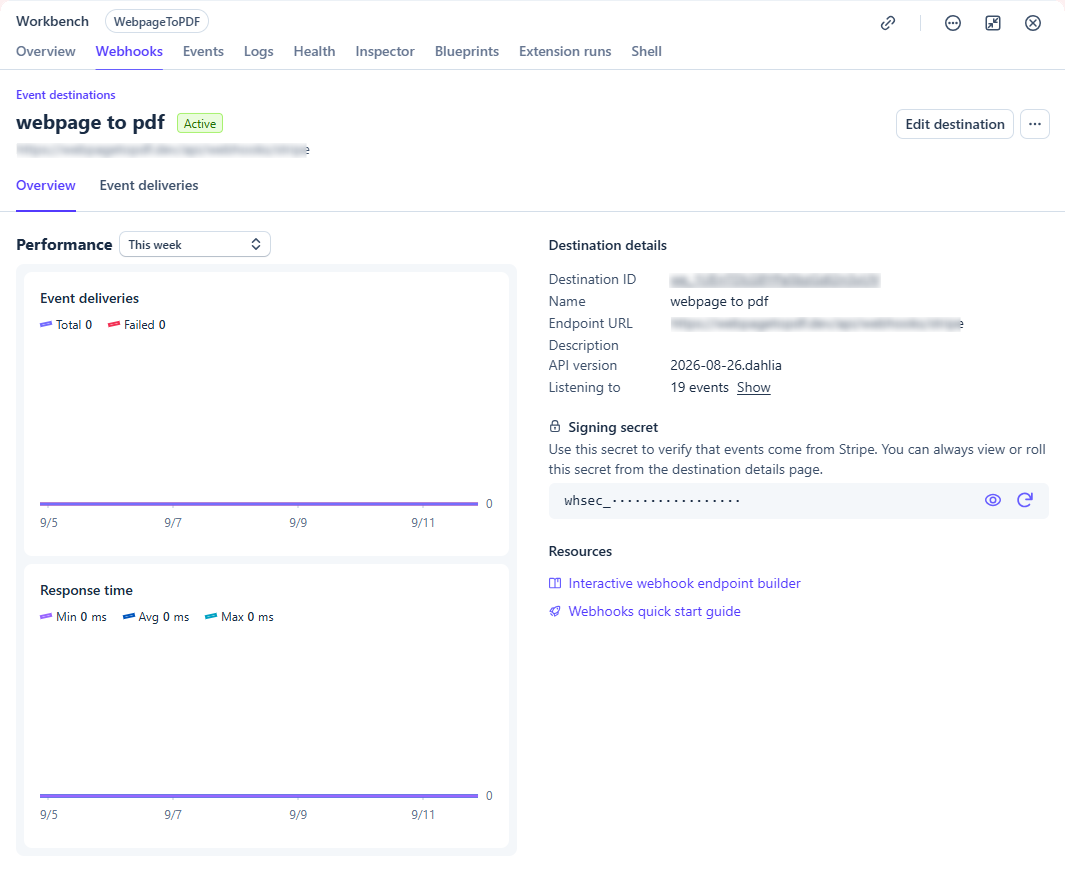
Copy it into .env.production in the project root:
STRIPE_WEBHOOK_SECRET="whsec_xxxxxxxxxxxxxxxxxxxxxx"If .env.production does not exist, create it. This will not affect subsequent steps.
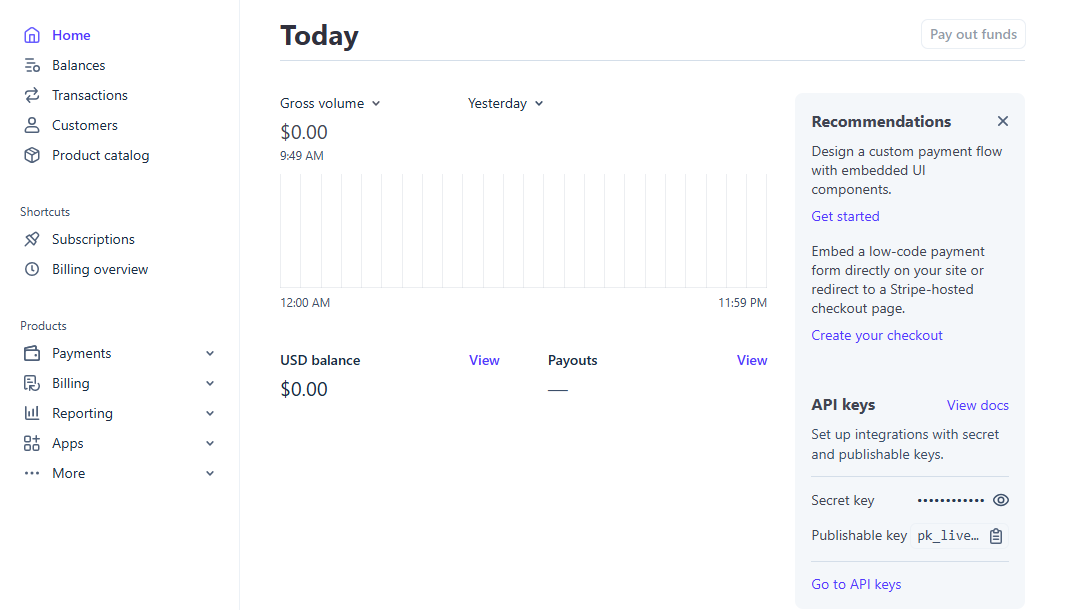
Also add the Stripe connection ID and Secret Key to the local environment variables.
STRIPE_CONNECTION_ID="webpage_to_pdf"
STRIPE_SECRET_KEY="sk_live_xxxxxxxxxxxxxxxxxxxxxx"
You can find STRIPE_SECRET_KEY in the Stripe Dashboard. Live keys start with sk_live_.
STRIPE_CONNECTION_ID is an ID you define to distinguish payment connections.
Set up webhooks with the script
The steps above create the webhook manually. You can also use the project script for a quicker setup. The script does not obtain Stripe keys for you. It only replaces the Dashboard steps in “Configure webhooks.”
Before using these commands, run npm run to confirm that your project includes them. Older templates may need an update to both the script entries and their implementation; see Project commands.
Run npm run webhook:stripe:prod for production or npm run webhook:stripe:dev for development. The following example sets up the development environment.
Configure STRIPE_SECRET_KEY for that environment before running the script, or it will fail:
C:\code\webpagetopdf>npm run webhook:stripe:dev

> webpagetopdf@0.0.1 webhook:stripe:dev
> tsx scripts/stripe/setup.ts development

Webhook site origin [http://127.0.0.1:5173]: https://7c7d-2605-52c0-2-1ebf-be24-11ff-fe62-cadd.ngrok-free.app
✔ Select the webhook event API version 2026-08-26.dahlia (project default)
✔ Select Stripe events checkout.session.completed, checkout.session.async_payment_succeeded, checkout.session.async_payment_failed, checkout.session.expired, customer.subscription.created, customer.subscription.updated, customer.subscription.paused, customer.subscription.resumed, customer.subscription.deleted, invoice.finalized, invoice.finalization_failed, invoice.paid, invoice.payment_failed, invoice.payment_action_required, invoice.marked_uncollectible, invoice.voided, refund.created, refund.updated, refund.failed
Environment: development
Destination: https://7c7d-2605-52c0-2-1ebf-be24-11ff-fe62-cadd.ngrok-free.app/api/webhooks/stripe
Webhook API version: 2026-08-26.dahlia
Selected events: 19
Create this Stripe webhook destination? [Y/n]:
Stripe webhook destination created: we_1UEnlFLG8YPa5bzGMCs1REYC
Configuration file: C:\code\webpagetopdf\.env
The new signing secret was saved without being printed.
Restart the development server if the signing secret changed.
Complete the payment flow
Saavo already handles the underlying payment logic, so you do not need to call the Stripe SDK yourself. Connect the Pricing page and purchase actions using the products and plans configured in products.ts.
The overall flow is:
- The Pricing page reads the product and plan configuration. When a user clicks to purchase, it submits
productIdandplanIdto/api/payments/checkout/:productId/:planId. - The backend reloads the plan configuration using these parameters. It checks whether the user is signed in, the plan exists, and repeat purchases are allowed, then creates a Stripe Checkout Session with the plan's
priceId. - The endpoint returns the Stripe Checkout URL, and the frontend redirects the user there to pay.
- Stripe sends webhooks to
/api/webhooks/stripefor payments, refunds, and subscription status changes. The backend verifies the signature withSTRIPE_WEBHOOK_SECRET, then updates order, payment transaction, subscription, and refund records. - The system matches the Price ID returned by Stripe to a plan in
products.ts, then readsaccess.rolesandaccess.entitlements. - A successful one-time payment triggers
payment_succeeded. Subscription creation, updates, and termination also trigger their corresponding events, and roles and entitlements update automatically.
Do not determine the payment result from whether the frontend redirect succeeds. Users may close the page partway through or construct requests themselves. Stripe webhooks are the source of truth for the final payment status.
Saavo already handles webhook persistence and duplicate events. If processing fails, the endpoint returns a failure status and Stripe retries later. Most of the work here is on the frontend UI: displaying plans, calling the Checkout endpoint, and handling sign-in state and API errors.
Leave updates to orders, subscriptions, roles, and entitlements to the backend webhook handler. Updating them from the frontend would cause inconsistent data.
You can ask AI to implement the Pricing page and purchase actions using the current products.ts configuration.
Checklist
By the end of this article, you should have tested purchases, webhook callbacks, and entitlement grants in test mode, then prepared the corresponding configuration for live mode.
Tutorial overview · Previous: Define plans and integrate entitlements · Next: Complete the website and deploy