Authentication and accounts
Sign-up, sign-in, email verification, social sign-in, 2FA, and account management. Configure them for your product without rebuilding the authentication system.
The Saavo template includes a complete account system covering sign-up, sign-in, email verification, password recovery, social sign-in, two-factor authentication, account management, and administrator access.
You generally do not need to reimplement these features for your product. Adjust the authentication policy, configure dependencies such as email and OAuth, and use the existing authentication checks in your pages, APIs, and frontend components.
Available features
After template initialization, the following authentication features are available out of the box:
| Feature | Default entry point | Default status |
|---|---|---|
| Sign-up | /auth/signup | Enabled |
| Sign-in | /auth/login | Enabled |
| Password recovery | /auth/forgot-password | Enabled |
| Email verification | /auth/verify-email | Verification email sent after sign-up, but verification is not required by default |
| Google sign-in | Sign-in page | Enabled after keys are configured |
| GitHub sign-in | Sign-in page | Enabled after keys are configured |
| Two-factor authentication | /account | Users can enable it themselves |
| Account page | /account | Accessible to signed-in users |
| Admin dashboard | /dashboard | Accessible to administrators |
Saavo also implements session management, a sign-in modal, recovery codes, step-up authentication for highly sensitive operations, and other authentication security limits.
When building on the template, do not create a separate sign-in state or parse cookies and manipulate session data directly in business code. Build on the authentication results Saavo provides.
Try sign-up and sign-in first
Before changing authentication settings, you should run through the complete flow with the defaults to learn what the template provides.
Start the development server and open the homepage. The sign-in button appears in the upper right:
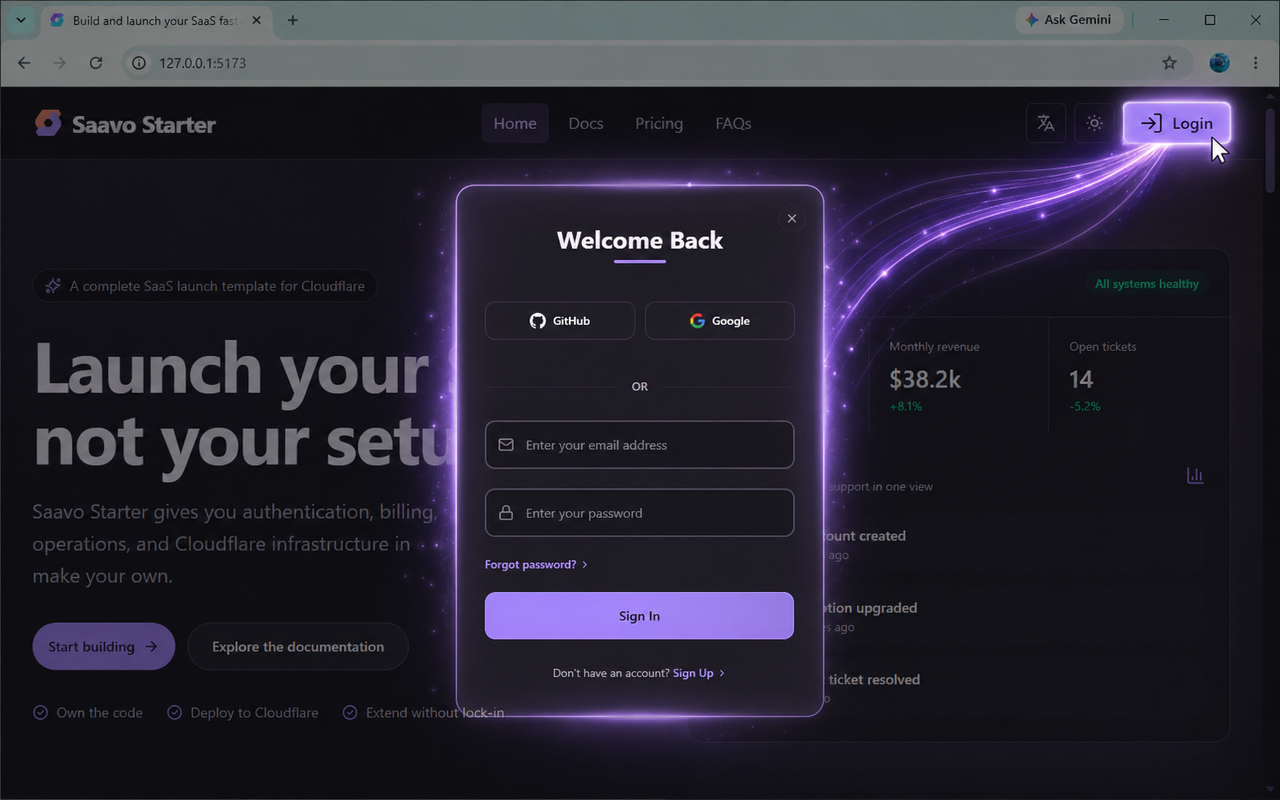
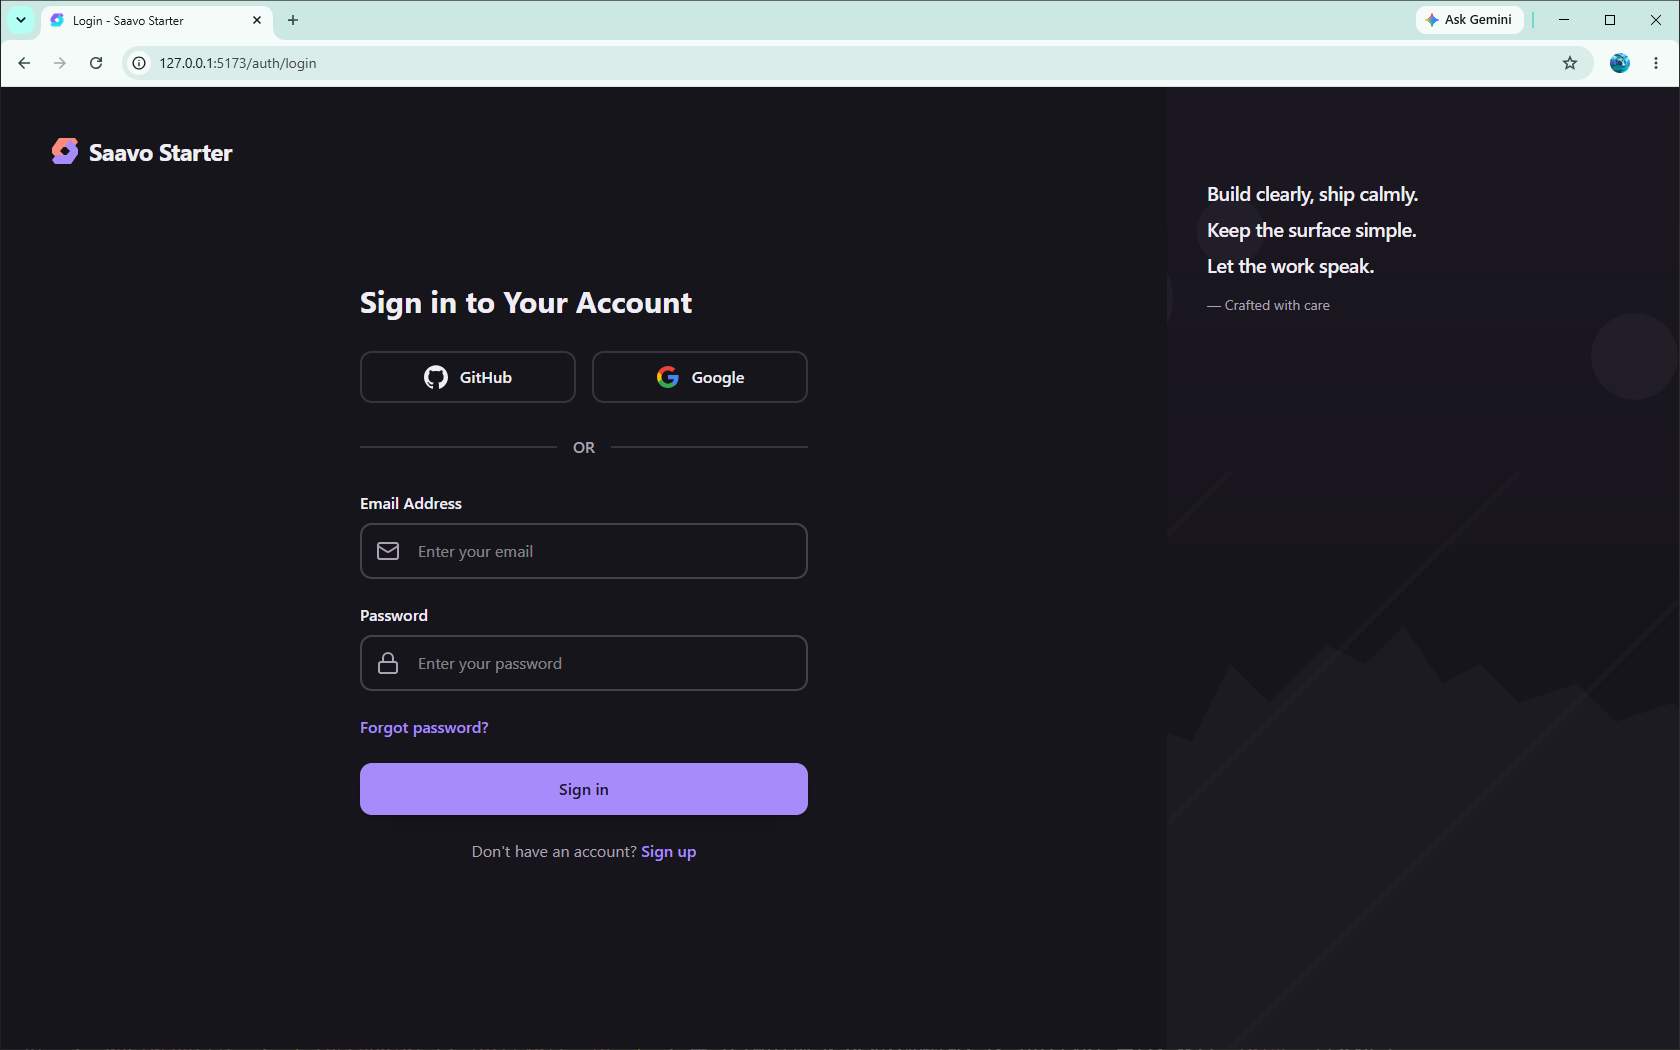
Click it to sign in through the modal. Saavo also provides a standalone sign-in page:
If you do not have an account, open the sign-up page and enter an email address and password:
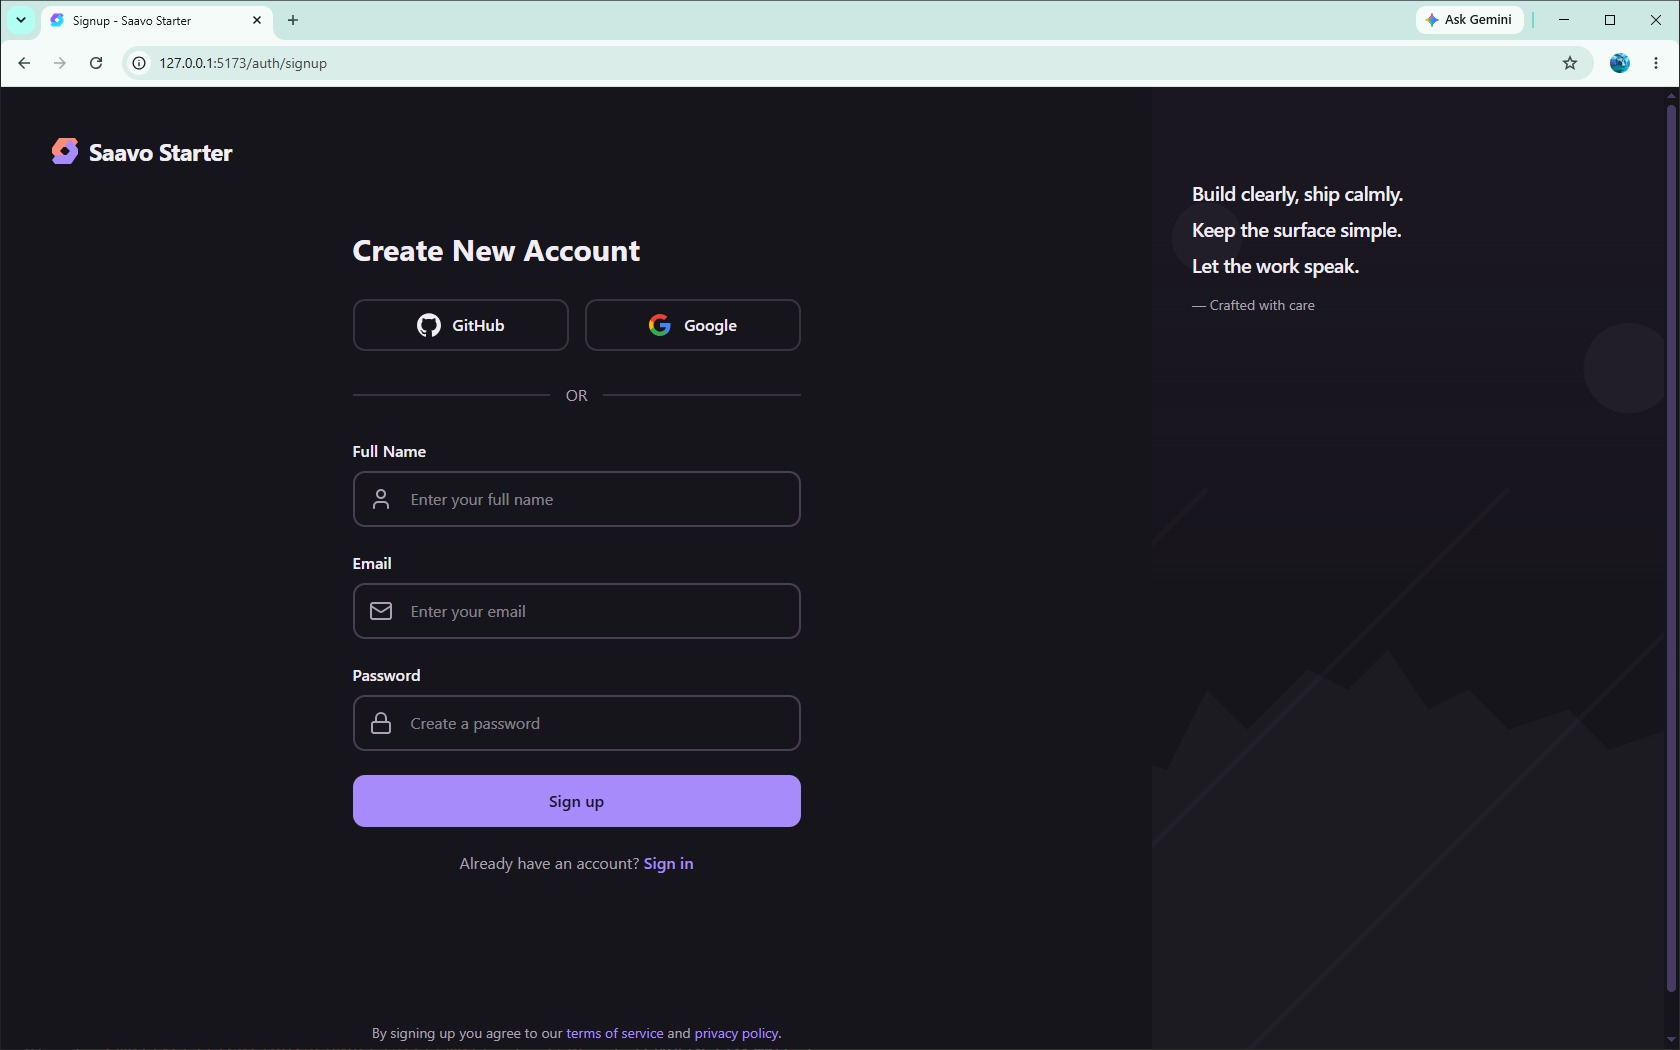
By default, Saavo sends a verification email but does not require verification. Users can continue using the product without verifying their address.
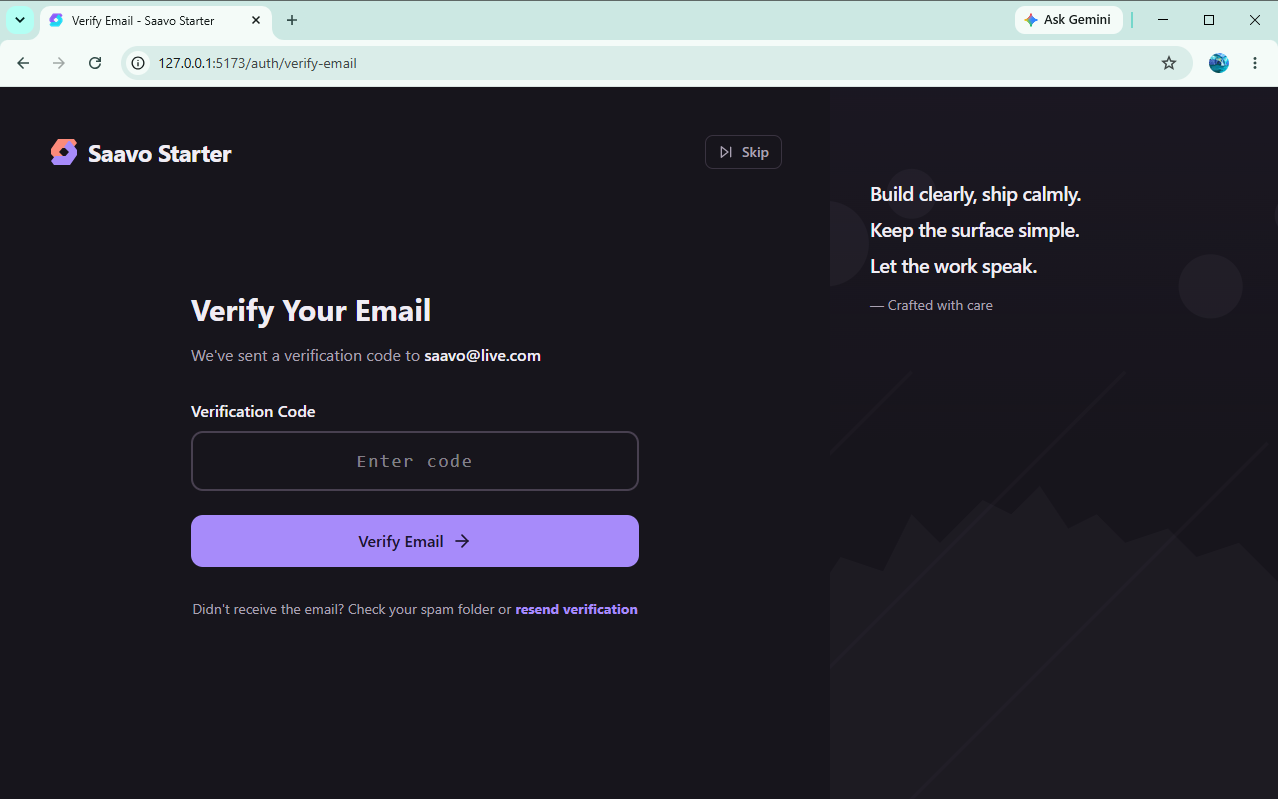
During local development, the template prints simulated emails to the development server console instead of sending them. You can find the verification code directly in the logs, for example:
[DEV EMAIL PREVIEW] {
  recipients: [ 'saavo@live.com' ],
  subject: 'Welcome to Saavo Starter',
  text: 'Hello, saavo,\n' +
    '\n' +
    'Thank you for registering with Saavo Starter! To ensure the security of your account, we need to verify your email address.\n' +
    '\n' +
    'Your verification code is 2RBFH7IA\n' +
    '\n' +
    'If you did not sign up for a Saavo Starter account, please disregard this email.\n' +
    '\n' +
    'If you have any questions, feel free to contact our support team.\n' +
    '\n' +
    'Best regards,\n' +
    'The Saavo Starter Team',
  html: ''
}
Use the code from the email above to verify the address. If verification is not required, you can skip it for now:
After signing in, open the account page through the avatar in the upper right:
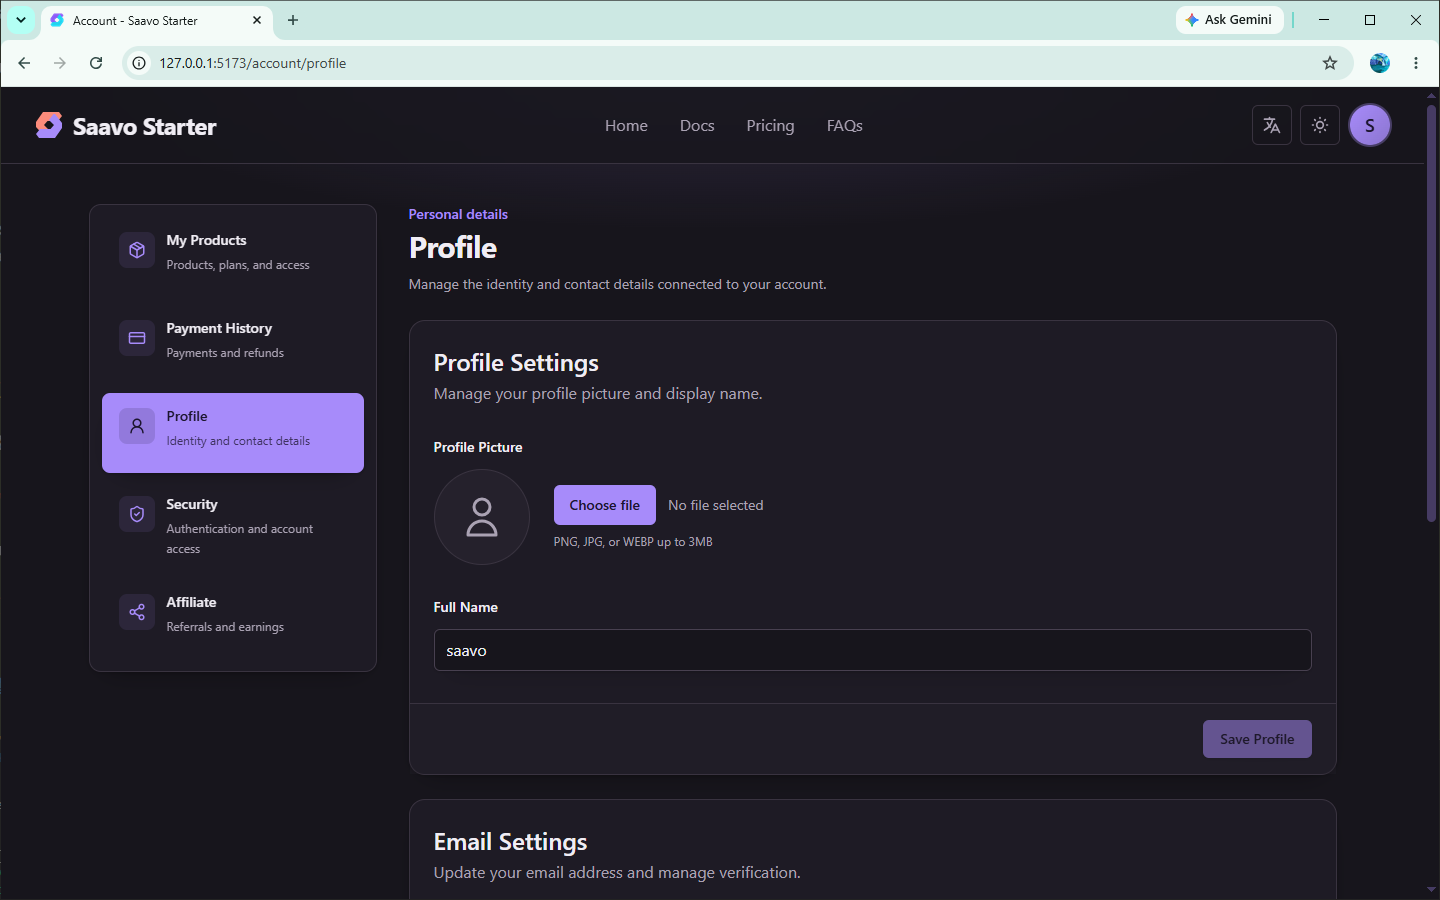
The account page (/account) includes profile information, security settings for passwords, email, and two-factor authentication, purchased products, and payment records.
The template also provides a separate dashboard for administrators:
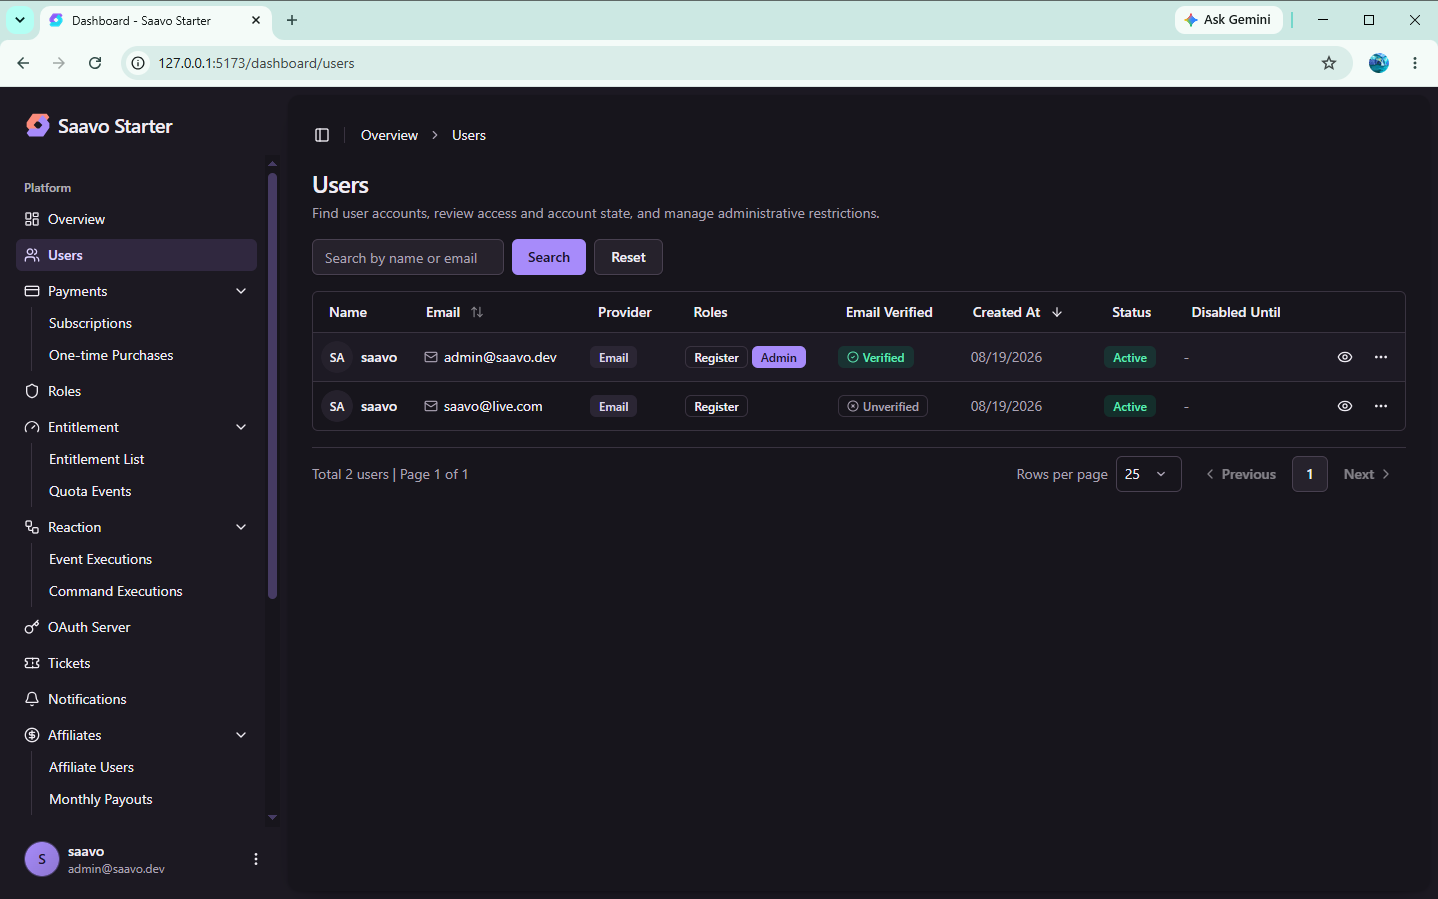
Administrator email addresses are configured in adminEmails. Users gain administrator access to /dashboard only after their email address matches the configuration and has been verified.
Tip
Developers generally do not need to rebuild these pages. Adjust the authentication policy for the product and let business features reuse the existing authentication state.
Configure authentication
The defaults are designed to get the template running quickly. When developing a product, you should review at least the following key options.
Require email verification
By default, users receive a verification email after signing up but can sign in without completing verification.
Once the product is publicly available, requiring email verification is recommended, especially for resource-intensive products, protection against bulk sign-ups, or requirements for authentic accounts:
emailVerification: {
    defaultRequired: true,
}
When enabled, users who have not verified their email address are directed to verification when they visit protected pages.
A separate setting controls whether a verification email is sent after sign-up:
emailVerification: {
    sendRegisterEmail: true,
}
Sending verification emails and requiring email verification are independent settings.
Email verification uses a code by default:
emailVerification: {
    sendVerifyType: 'code',
}
To let users verify by clicking a link in the email, change it to:
emailVerification: {
    sendVerifyType: 'link',
}
Before enabling required verification
Confirm that the production email service works before requiring email verification. Otherwise, newly registered users will be unable to verify their address and continue using the product.
Choose sign-in methods
Email and password sign-in is enabled by default.
Saavo also supports Google and GitHub sign-in. Third-party sign-in is enabled according to the current environment variables. If the corresponding OAuth keys are missing, its sign-in option is hidden.
For consumer SaaS products, Google sign-in usually makes sign-up easier. For developer products, decide whether to offer GitHub sign-in based on your audience. Other providers, such as Apple, require your own implementation using their documentation.
When using Google sign-in, you can also enable Google One Tap:
enableGoogleOneTap: trueSee “Prepare authentication services” below for Client ID, Client Secret, and Callback URL configuration.
Require two-factor authentication
Saavo provides authenticator-app-based two-factor authentication and recovery codes.
The default configuration is:
twoFactorAuth: {
    defaultRequired: false,
}
2FA is optional. With this setting, it is not enabled for users by default, but they can enable it at any time in the security settings at /account.
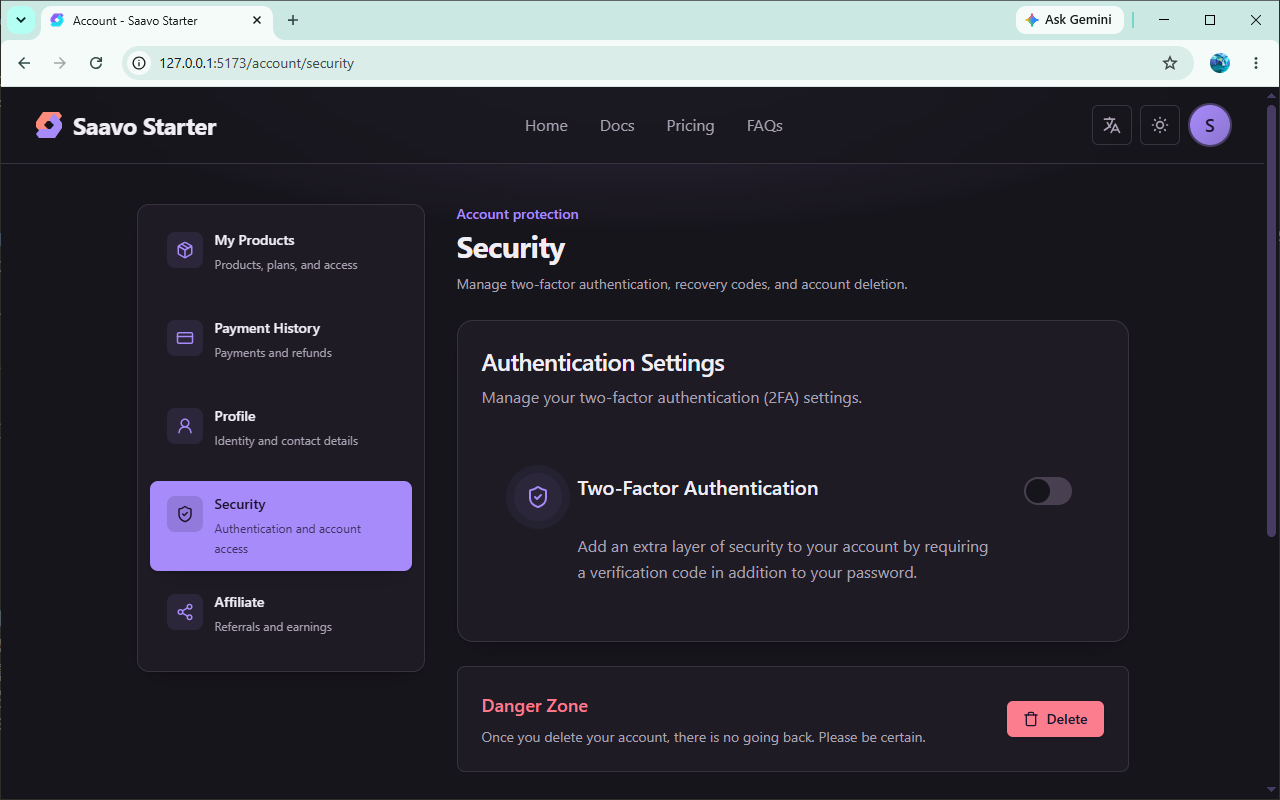
This suits most SaaS products. Users who want additional protection can enable it, while others avoid extra steps during sign-up and use.
For products with stricter security requirements, set:
twoFactorAuth: {
    defaultRequired: true,
}
Users must then set up two-factor authentication before using the product.
Adjust the number of recovery codes with:
twoFactorAuth: {
    recoveryCodeCount: 5,
}
When initializing the product, remember to change twoFactorAuth.issuer:
twoFactorAuth: {
    issuer: 'Acme',
}
issuer appears in authenticator apps such as Google Authenticator and 1Password. Set it to your product name.
Configure post-sign-in redirects
By default, the template returns users to the homepage after sign-up, sign-in, and sign-out.
In an actual SaaS product, users should generally enter the application after signing in. For example, if the main interface is at /app:
ui: {
    redirectTo: {
        afterSignup: '/app',
        afterLogin: '/app',
        afterLogout: '/',
    },
}
The resulting flow is:
Successful sign-up → /app
Successful sign-in → /app
Sign out → /
We recommend updating this configuration early so users are not still redirected to the template's default homepage after signing in.
Choose a sign-in modal or page
The sign-in modal is enabled by default. Users can open it with the upper-right sign-in button, or a business action may prompt it to appear.
For example, when a signed-out user clicks a purchase button, they can sign in on the current page and continue the payment flow without visiting the sign-in page.
If you do not need the modal, disable ui.useLoginModal:
ui: {
    useLoginModal: false,
}
When disabled, all requests to sign in redirect to the full sign-in page.
Each approach has its uses. A modal feels more natural when users frequently need to sign in during another action. A full page is simpler when signing in is a distinct step.
Add administrators
Saavo configures administrators through adminEmails in config/base.ts:
adminEmails: ['admin@saavo.dev'],Sign up with that address and verify it to gain administrator access to:
/dashboardadminEmails does not define superuser accounts that bypass authentication. Administrators begin as ordinary users. They gain administrator status only when their verified email address exactly matches a configured address.
After initializing the product, you should create your own administrator account early and confirm that it can access the dashboard.
Prepare authentication services
Authentication logic is built into the template, but email, OAuth, Turnstile, and similar features still depend on external services and environment variables.
SAAS_SECRET
Every project needs a SAAS_SECRET environment variable. Avoid reusing the same value:
SAAS_SECRET=...Session encryption and other sensitive data encryption depend on it. Use a separate value for each project.
Email service
These authentication flows send email:
- Email verification after sign-up
- Resending verification codes
- Password recovery
- Email address changes
- Other security operations requiring email confirmation
In local development, Saavo uses simulated emails printed to the console and does not send real messages.
After deploying to production, configure an actual email service. For supported providers and setup instructions, see:
If email verification is required, first confirm that the email service can send messages successfully.
Google and GitHub sign-in
For Google sign-in, configure the following in .env:
GOOGLE_CLIENT_ID=...
GOOGLE_CLIENT_SECRET=...
Set the Redirect URI in the Google OAuth application to:
https://your-domain.com/api/auth/oauth2/googleFor GitHub sign-in:
GITHUB_CLIENT_ID=...
GITHUB_CLIENT_SECRET=...
The corresponding Redirect URI is:
https://your-domain.com/api/auth/oauth2/githubIf the corresponding keys are missing, that sign-in method is hidden.
Restart the development server after changing .env.
For the complete Google sign-in setup, see:
Turnstile human verification
Saavo supports Cloudflare Turnstile for human verification on authentication pages such as sign-up and sign-in.
By default, Turnstile does not appear on every visit. It is triggered by the risk count for an authentication operation:
useTurnstile: {
    threshold: 2,
    interval: '1h',
}
Here:
thresholdis the risk-count threshold that triggers human verification.intervalis the validity period of the risk count.
With the default settings, human verification is required when the risk count for the corresponding authentication operation reaches 2. Invalid parameters, authentication failures, and some check events increase the count. Successful events can reduce it. This does not mean “refreshing the page more than twice.”
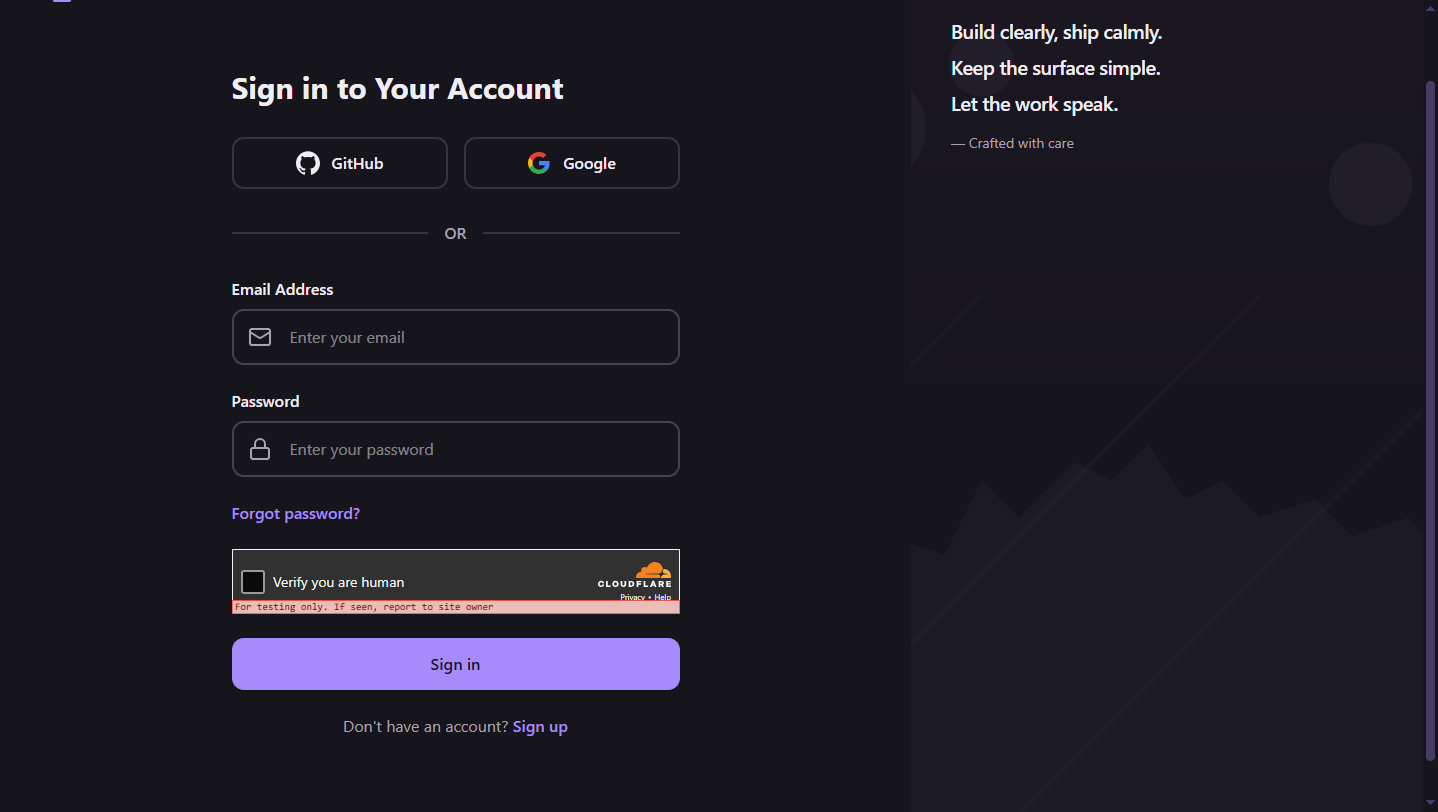
Lower the threshold to trigger verification sooner. If Turnstile is not needed, set:
useTurnstile: falseTo enable Turnstile, configure:
CLOUDFLARE_TURNSTILE_SITE_KEY=...
CLOUDFLARE_TURNSTILE_SECRET_KEY=...
Use Cloudflare's test keys for local development if needed. Production should use the live keys obtained for your site.
Authenticate users in business code
Once configuration is complete, let business code read the current user's authentication state.
The basic rule is:
Do not read cookies yourself in business code or query or modify session tables directly.
Saavo's guards handle authentication conditions such as sign-in status, email verification, and two-factor authentication consistently. Business code can use their results directly.
Protect pages
Many SaaS pages require sign-in, such as account pages, workspaces, or a user's own project pages.
For server-rendered pages, call authenticatedGuard in the page handler:
const accountPageHandlers = createLayoutHandlers(
    createLayoutRenderer('page'),
    (c: Ctx) => {
        const locale = c.var.getLocale();
        const guardResult = authenticatedGuard(c);

        if (!guardResult.success) {
            return c.redirect(
                getFullPath(guardResult.details?.redirectUrl as string, locale),
            );
        }

        const { authContext } = guardResult.data;

        return <AccountPage c={c} />;
    },
);

export default accountPageHandlers;
authenticatedGuard does more than check for a session.
It handles different authentication states according to the current policy:
Not signed in
↓
Sign-in page

Email verification is required but incomplete
↓
Email verification

2FA is required but incomplete
↓
Two-factor authentication flow

All authentication requirements are met
↓
Continue to the application page
Business pages therefore do not need to duplicate sign-in, email verification, and 2FA checks.
If a page also requires administrator permissions, a role, or a Capability, perform that check after authentication succeeds.
For a complete example, see:
Protect APIs
APIs use the same authentication guard, returning JSON on failure instead of redirecting:
const guardResult = authenticatedGuard(c);

if (!guardResult.success) {
    return c.json(
        guardResult,
        guardResult.code === gResultCode.authLoginRequired ? 401 : 403,
    );
}

const { authContext } = guardResult.data;
This keeps authentication rules consistent between pages and APIs.
If you later make email verification or 2FA mandatory, you will not need to update the authentication logic in every business endpoint.
Use authContext in user-specific logic
After authentication succeeds, authContext provides authentication information for the current request, including the current user and session. It supplies the identity for subsequent business logic and forms the basis for permission checks.
For example, a user might be creating a project:
POST /api/projectsThe server needs to know who owns it.
Use the current user's identity from the authentication context instead of trusting a userId submitted by the frontend.
Similar operations include:
- Creating data owned by the current user
- Querying the current user's projects
- Modifying the user's own resources
- Checking the current role
- Checking an Entitlement
- Checking a Capability
- Deciding whether the current user may perform an action
The typical flow is:
Request
↓
authenticatedGuard()
↓
authContext
↓
Role / Entitlement / Capability
↓
Business Logic
Authentication establishes who the current user is. Roles, Entitlements, and Capabilities determine what that user can do.
Read the current user on the frontend
Frontend components sometimes need to know whether the user is signed in, in addition to server-side authentication.
Saavo uses MPA rendering, so frontend state shared across components needs a store. User state currently uses nanostores and is available through useCurrentUser:
import { setLoginModalOpen } from '@/stores/login-modal';
import { useCurrentUser } from '@/stores/user';

const { isLoggedIn } = useCurrentUser();

if (!isLoggedIn) {
    setLoginModalOpen(true);
    return;
}
This example opens the sign-in modal when the user is not signed in.
Other components can call setCurrentUser to update the shared state after changing user information.
The frontend's isLoggedIn primarily controls UI behavior, such as displaying a sign-in button, opening the sign-in modal, or hiding certain entry points.
Data access and permissions must still be checked on the server through Guards, Roles, Entitlements, or Capabilities. Frontend state is not a security boundary.
Extend account settings
/account already covers most account-level settings, so you do not need to reimplement them.
Settings that belong in /account include:
- User profile
- Email address
- Password
- Two-factor authentication
- Recovery codes
- Purchased products
- Payment and billing information
These all belong to the user account itself.
Settings specific to your SaaS functionality belong on its own pages. For example, an AI product might also need:
Default AI model
Generation parameters
Workspace settings
Notification settings
Team configuration
Implement these in the business module instead of adding them to /account.
A simple rule is:
Put settings about who the user is in
/account, and settings about how the product works on business pages.
Pre-launch checks
Authentication is a foundational feature that must be fully verified before launch. Check at least these flows:
- Sign-up, email verification, sign-in, and sign-out work.
- Password recovery completes successfully.
- Account features in
/accountwork. - Enabled Google / GitHub sign-in methods work.
- If 2FA is enabled, setup, verification, and recovery code flows work.
- Signed-out users cannot access protected pages or APIs.
- Ordinary users cannot access
/dashboard. - Administrators can access
/dashboard. - Production uses its own
SAAS_SECRET. - Production email sends successfully.
- OAuth Redirect URIs use the production domain.
- Authentication security settings such as Turnstile use production keys.
We recommend testing the complete flow with a newly registered ordinary account and an administrator account, rather than relying only on an old development test account.
Frequently asked questions
Next steps
Choose further reading based on what you need to build:
- Enable Google sign-in → Set up Google sign-in
- Create a page that requires sign-in → Pages that require sign-in
- Create an administrator page → Administrator pages
- Configure authentication emails → Email
- Restrict which features users can access → Features that require payment
- Look up authentication endpoints and response formats → API
Most products will not need further changes to the authentication system after completing this chapter.
You can now build the product's business functionality around the current signed-in user.