Register with Cloudflare
Create and verify your Cloudflare login, confirm which account will own your resources, enable R2, and prepare to authorize Wrangler.
Saavo runs on Cloudflare Workers. During local development, you can use Wrangler to simulate D1, KV, R2, Queues, and Durable Objects. You will need real Cloudflare resources when you deploy a preview or go live.
Leave resource creation for later
This page covers registration and enabling R2. You do not need to add a domain or create D1 databases, KV namespaces, R2 buckets, or queues yet. During the initial deployment, deploy:init will create and bind the resources the project needs.
Understand users and accounts
Cloudflare distinguishes between a user and an account:
| Term | What it contains | Role in Saavo |
|---|---|---|
| Cloudflare user | Sign-in email address, password, language, and two-factor authentication settings | Identifies who signs in to the Dashboard and authorizes Wrangler |
| Cloudflare account | Workers, D1, KV, R2, domains, members, and billing settings | Determines where Saavo is deployed |
A user can belong to multiple Cloudflare accounts. You must select the same account whenever you create the Worker and its resources later. The Cloudflare documentation explains these concepts in more detail.
Sign up for Cloudflare
Choose an email address before signing up. In addition to signing in, you will use it to receive usage alerts, security notifications, and account recovery emails, so an address you check regularly is best. For a company or team project, use an address the organization can continue to manage. Invite other members after registration instead of sharing a password.
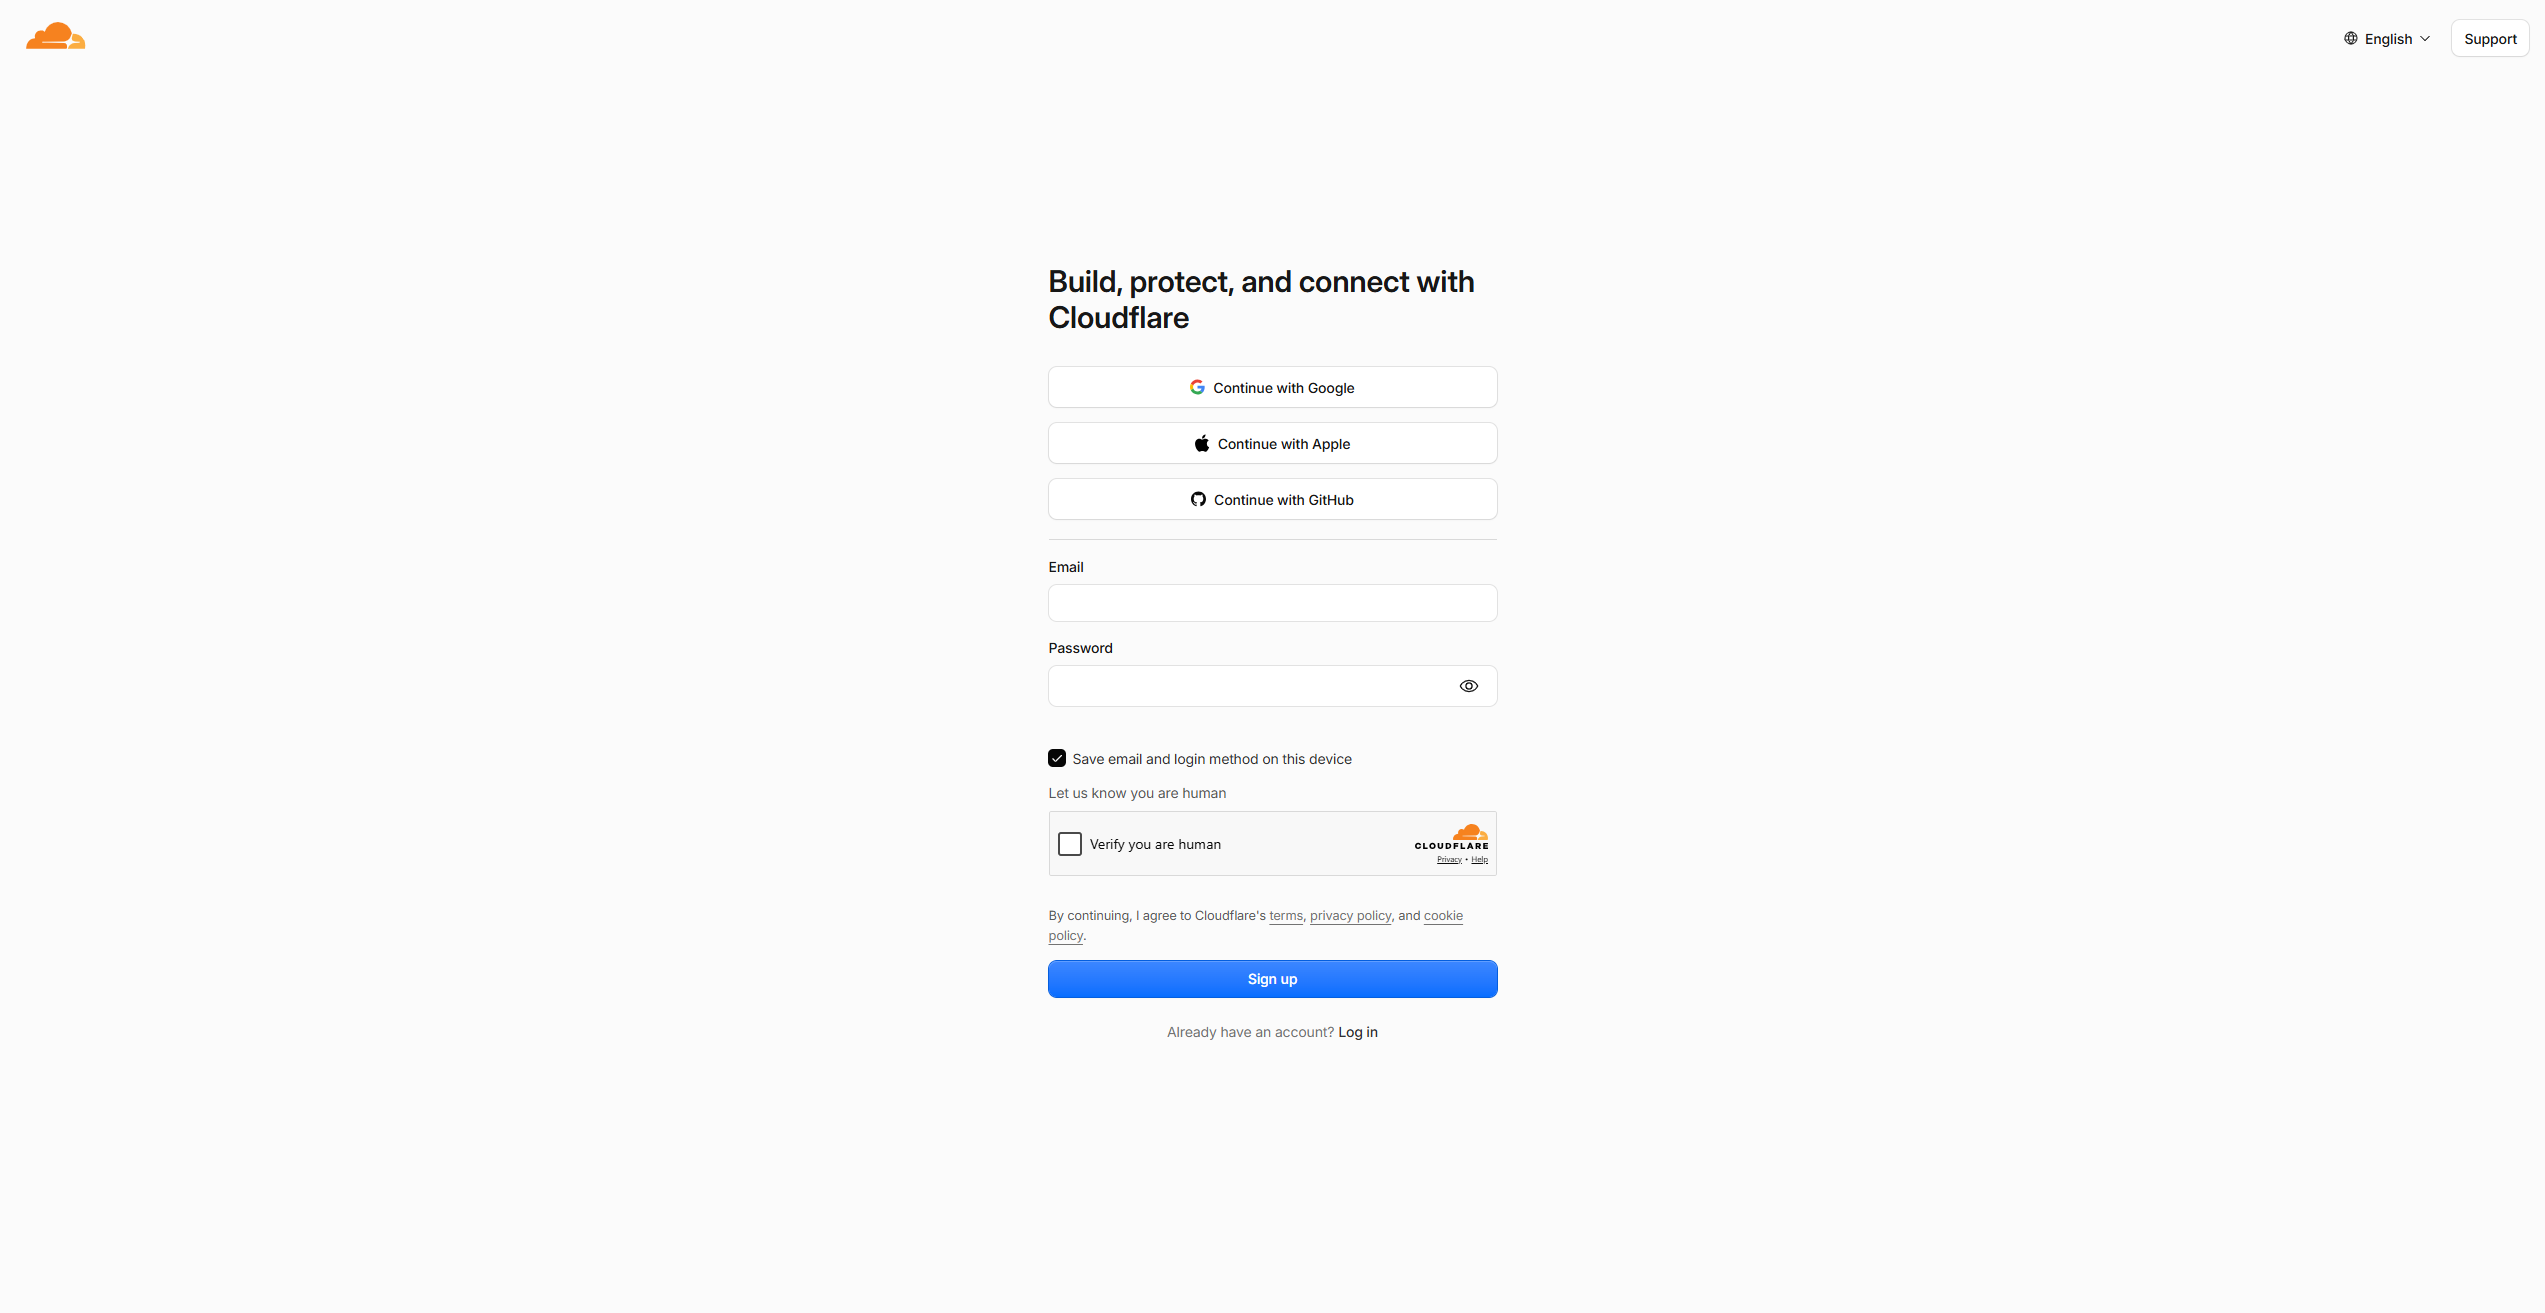
- Open the Cloudflare sign-up page.
- Enter your email address and password.
- Read the terms and notices on the page, then click Create account once you have checked them.
- After registration, the browser opens the Cloudflare Dashboard.
New accounts have a default name such as <your-email>'s Account. You can keep it for now for a personal project. If you manage multiple projects, we recommend changing it early to a recognizable project or team name to avoid selecting the wrong account during deployment.
Verify your email address
Cloudflare automatically sends a verification email after registration. Open the verification link in the email and sign in to Cloudflare again to complete verification.
If the email does not arrive:
- Check your spam folder and email filtering rules.
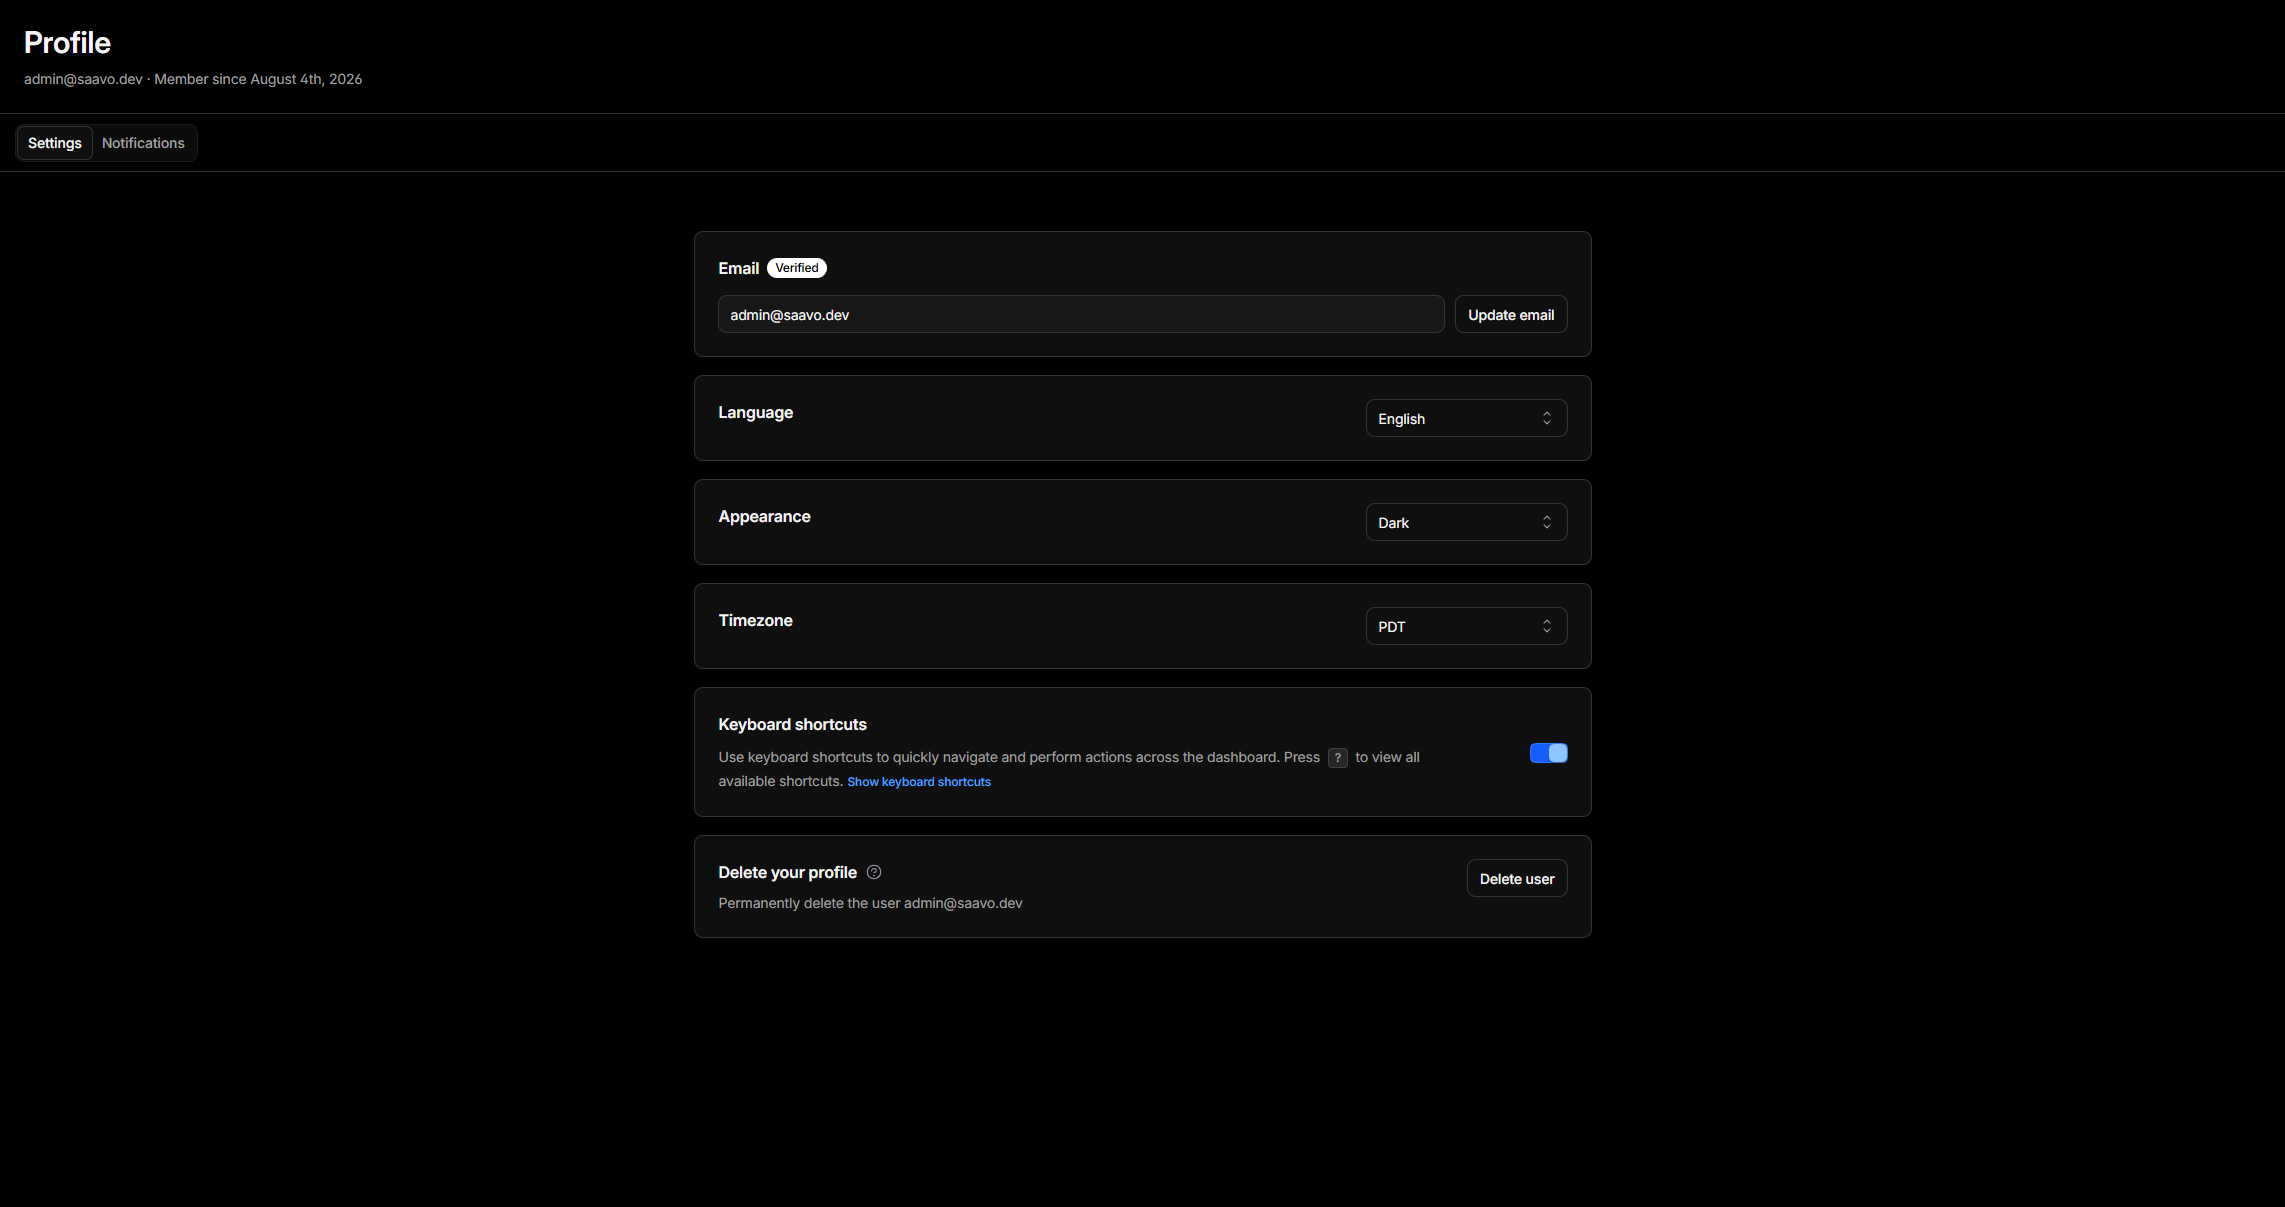
- Sign in to the Cloudflare Dashboard, click the user icon in the upper-right corner, and open Profile from the user menu.
- Find Email Address and click Send verification email to resend it.
Once verification is complete, verified appears next to your email address. If you have opened the link but the status has not changed, try another browser or a private window, then resend the verification email.
Do not skip email verification
Some account management features are unavailable until you verify your email address, and you may be unable to set up two-factor authentication correctly. Returning to verify it just before deployment is often more trouble than completing it now.
Confirm which account will own the resources
In the Dashboard, check which Cloudflare account is selected. If you see only one account named after your email address, you can use it for the remaining steps. If you belong to multiple accounts, decide where Saavo should be deployed and note the account name.
To rename an account, open its Configurations page and click Change Name under Account Name. The name is only a label. Changing it does not change the Account ID or affect existing resources.
The free plan is sufficient for local development and a workers.dev preview. You can skip prompts to add a domain, choose other products, or enter billing information for now. When you go live, decide whether to upgrade based on actual usage.
Do not share a login for team projects
Each team member should join the same account with their own Cloudflare user. This lets you assign permissions individually and revoke access when someone leaves without changing everyone's password. The Worker, D1 databases, KV namespaces, R2 buckets, and queues still belong to the Cloudflare account your team selected.
Enable two-factor authentication (recommended, optional)
A compromised Cloudflare user could affect your domains, production data, and deployment permissions. After verifying your email address, we recommend enabling two-factor authentication (2FA) immediately:
- Open My Profile → Authentication.
- Add an authenticator app or security key under Two-Factor Authentication.
- Follow the instructions to save your backup recovery codes in a secure location, such as a password manager.
Recovery codes are only needed when you cannot use your authenticator. Do not store them with your account password in the same unencrypted file. See the Cloudflare two-factor authentication documentation for setup instructions.
Enable R2
Cloudflare R2 is an object storage service. Saavo uses it by default for uploaded files such as avatars, support ticket images, and notification images. Before creating an R2 bucket, you must enable R2 in the Cloudflare account where you plan to deploy Saavo.
Enabling R2 adds an R2 subscription to the current account. It does not create a bucket, API token, or access key. Follow these steps:
- Open the Cloudflare Dashboard and switch to the account where you plan to deploy Saavo.
- Open Storage & databases → R2 → Overview in the sidebar.
- If the page already shows a bucket list or a Create bucket button, R2 is enabled for this account. You can skip to the next section.
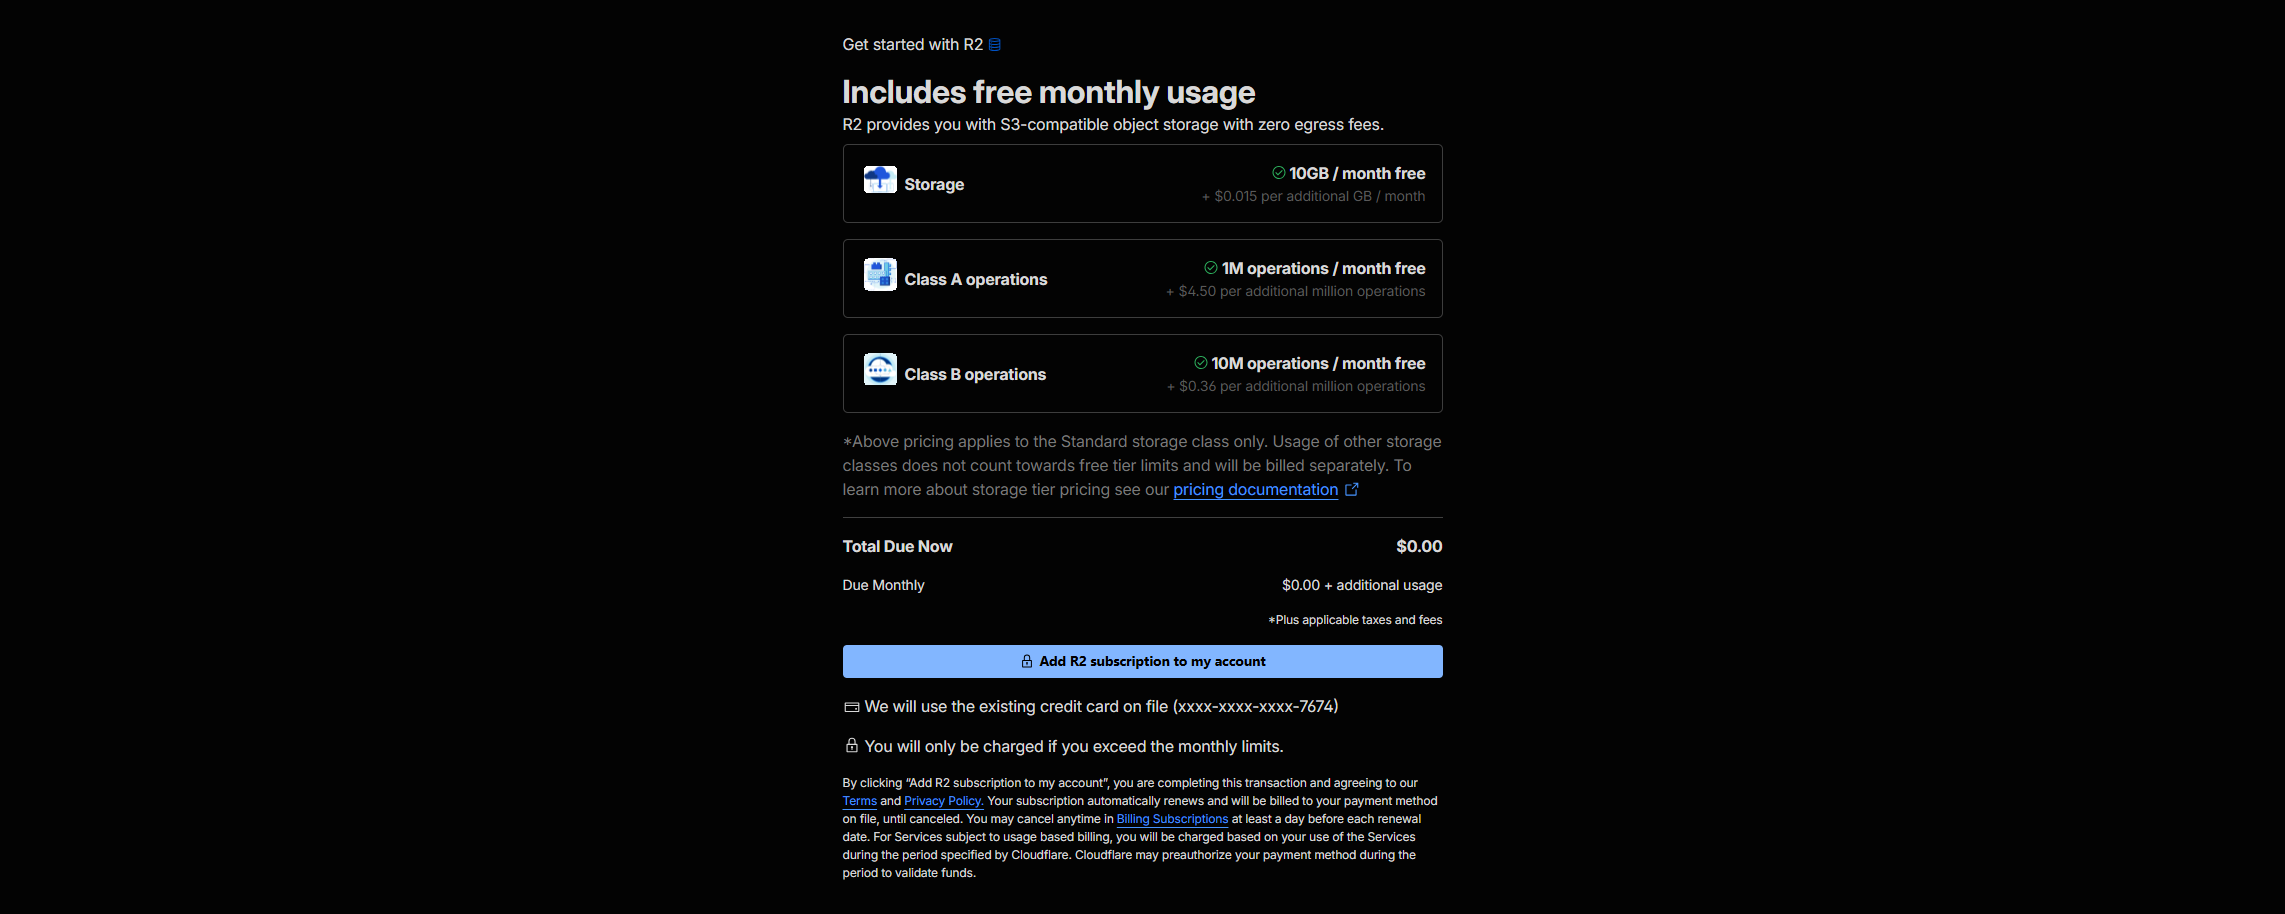
- If the page prompts you to enable R2, click the activation button and follow the checkout instructions. Cloudflare may first ask for billing information and a payment method.
- Return to the R2 Overview page. If you can see Create bucket, R2 is ready to use.
You do not need to create a bucket yet
This section only confirms that R2 is enabled. Bucket names and Worker bindings must match the project configuration. Wait for deploy:init to create them based on the Worker name so you do not leave unused resources with mismatched names.
Enabling R2 requires adding a payment method. If the current account does not have one, Cloudflare will ask you to add it first.
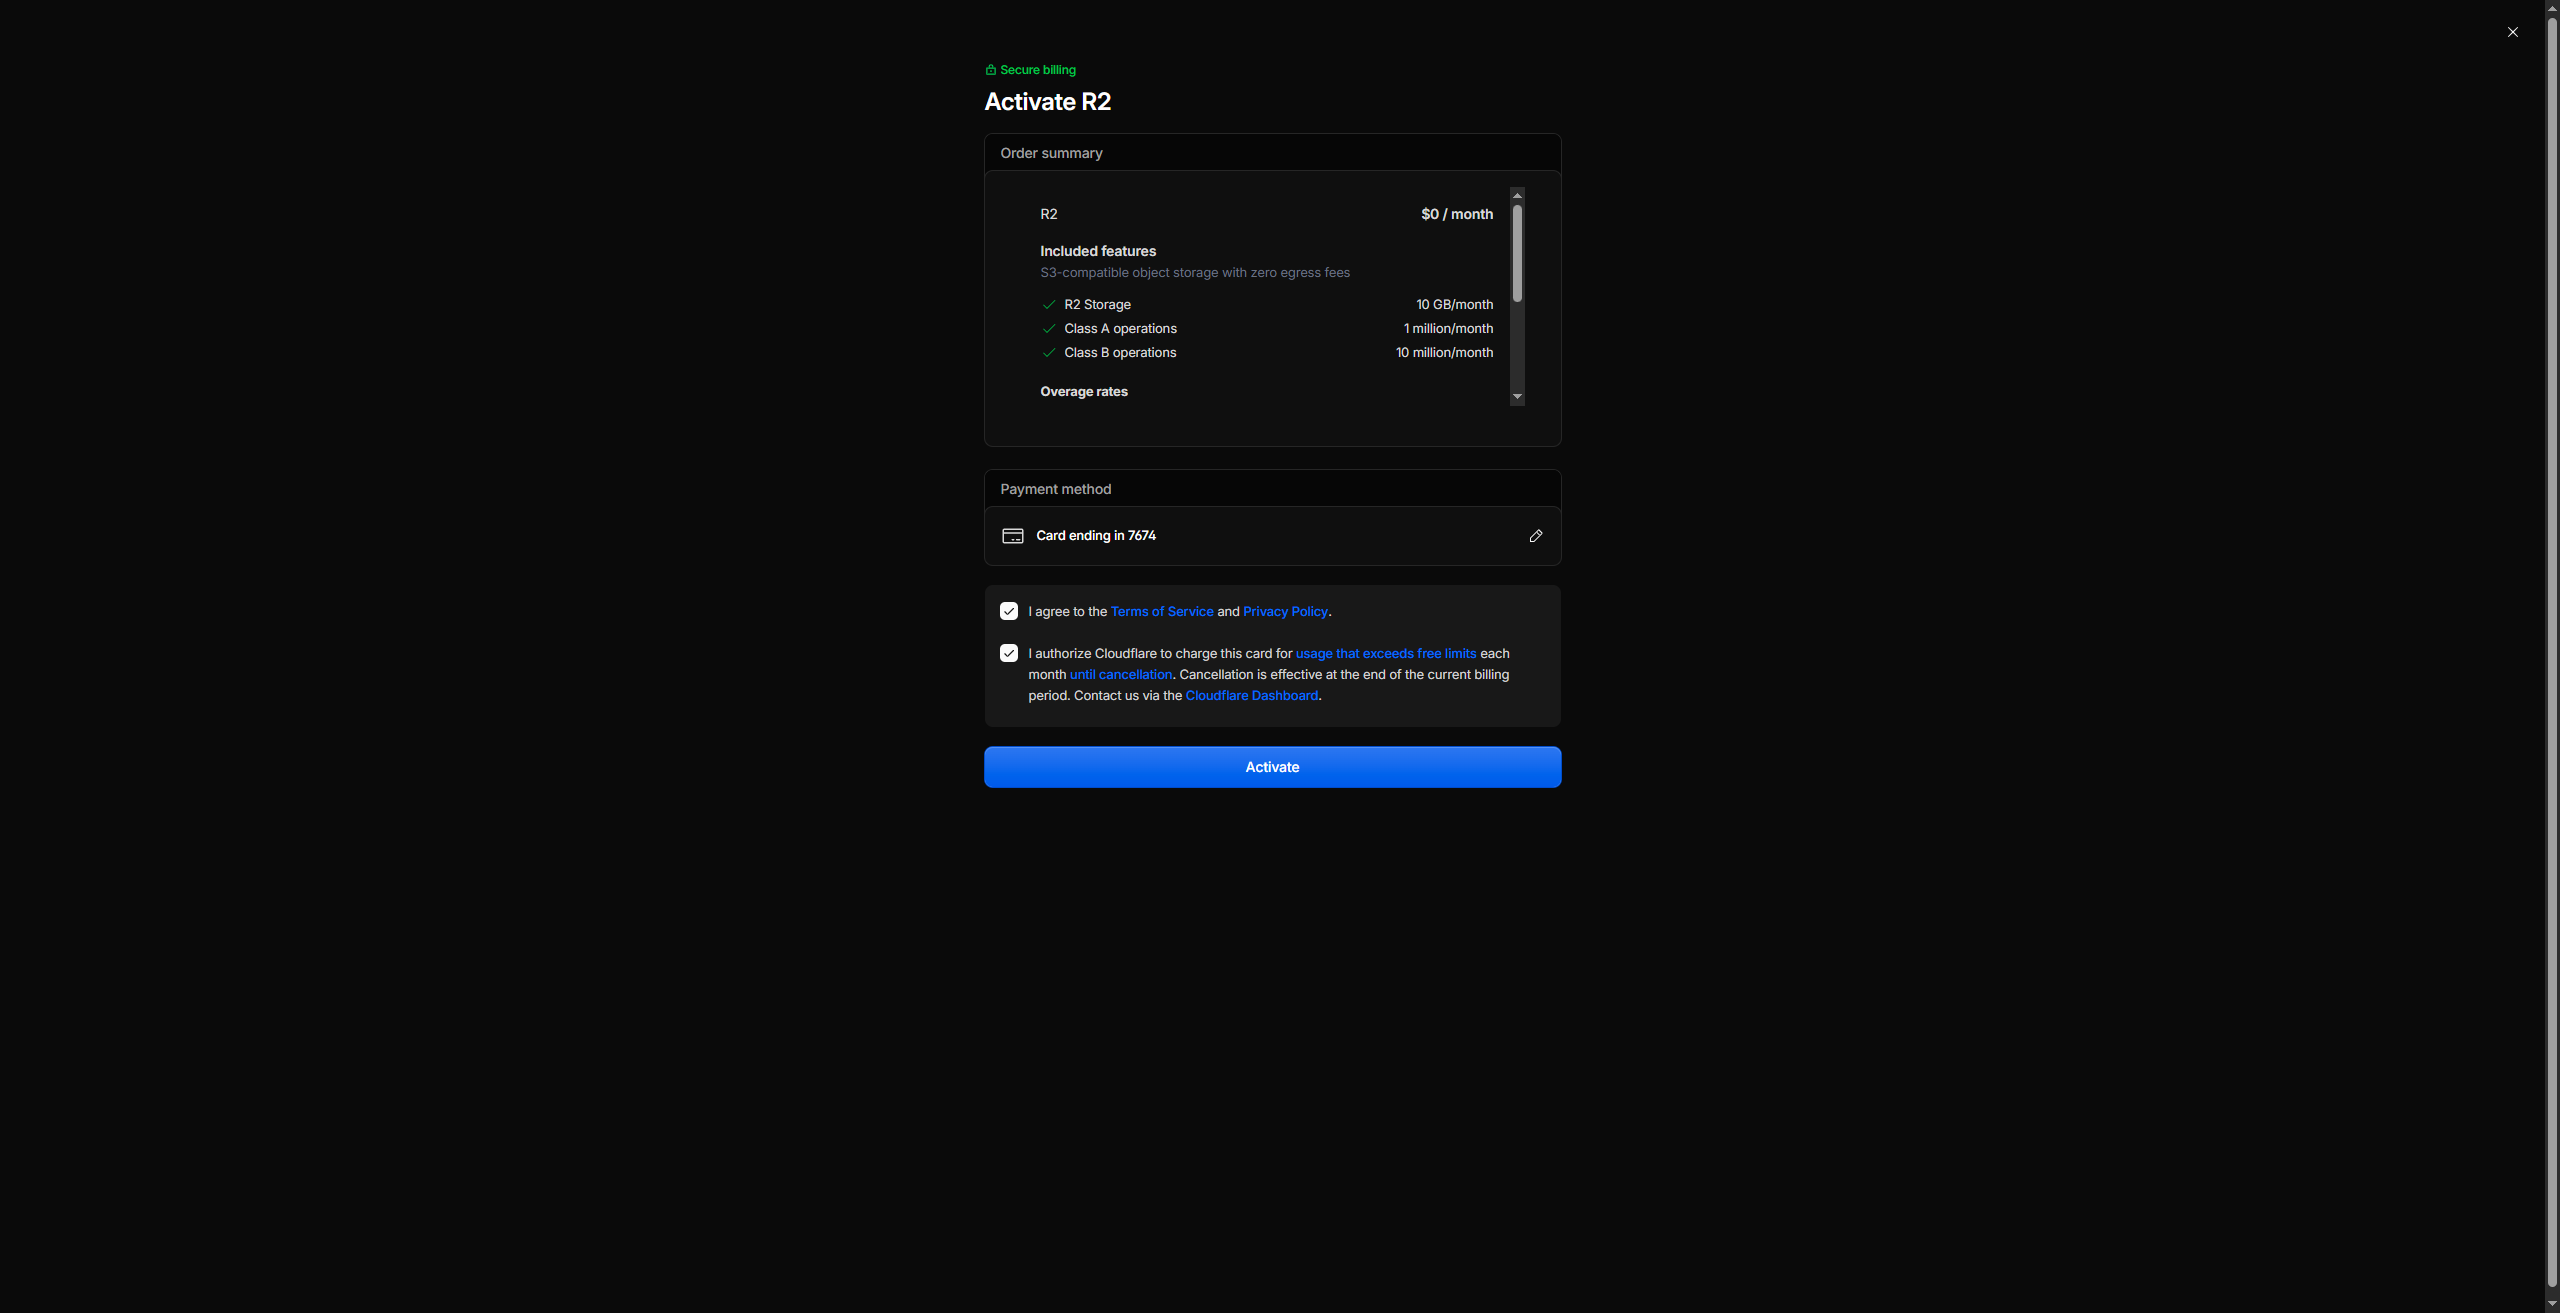
There is an extra page in this flow. This appears to be the default process of adding a payment method before enabling R2. Click Continue to R2.
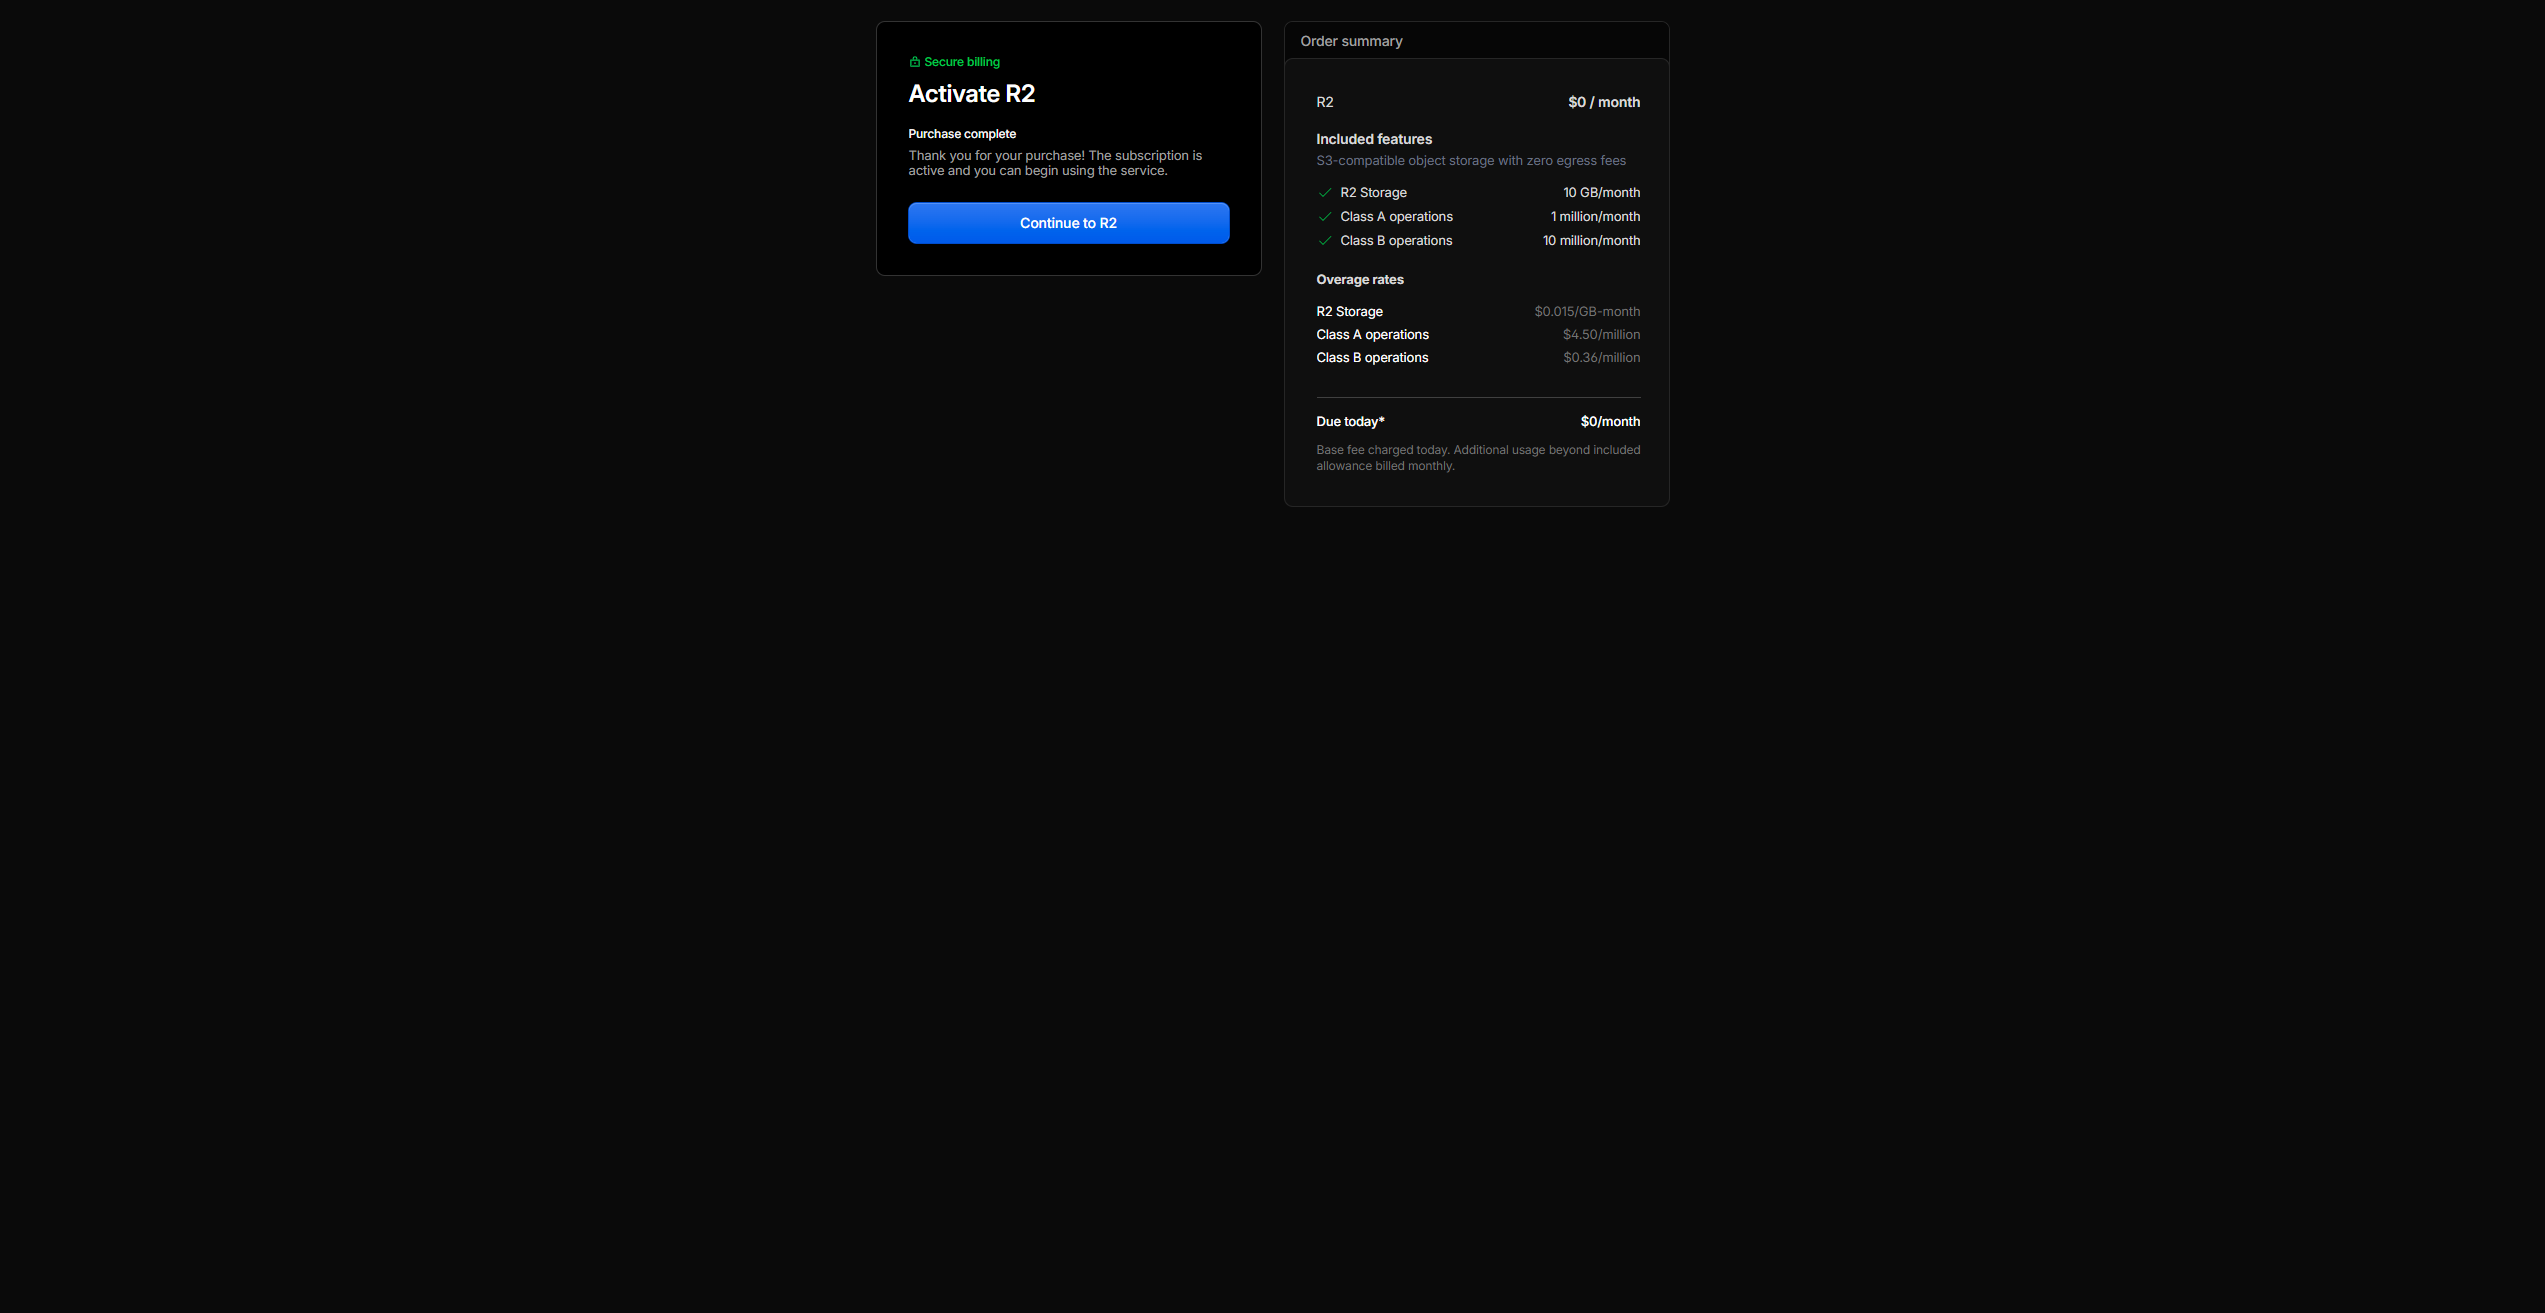
If there are no issues with your card, activation should succeed. You will then be redirected to the R2 Overview page. The Create bucket button confirms that R2 is ready to use.
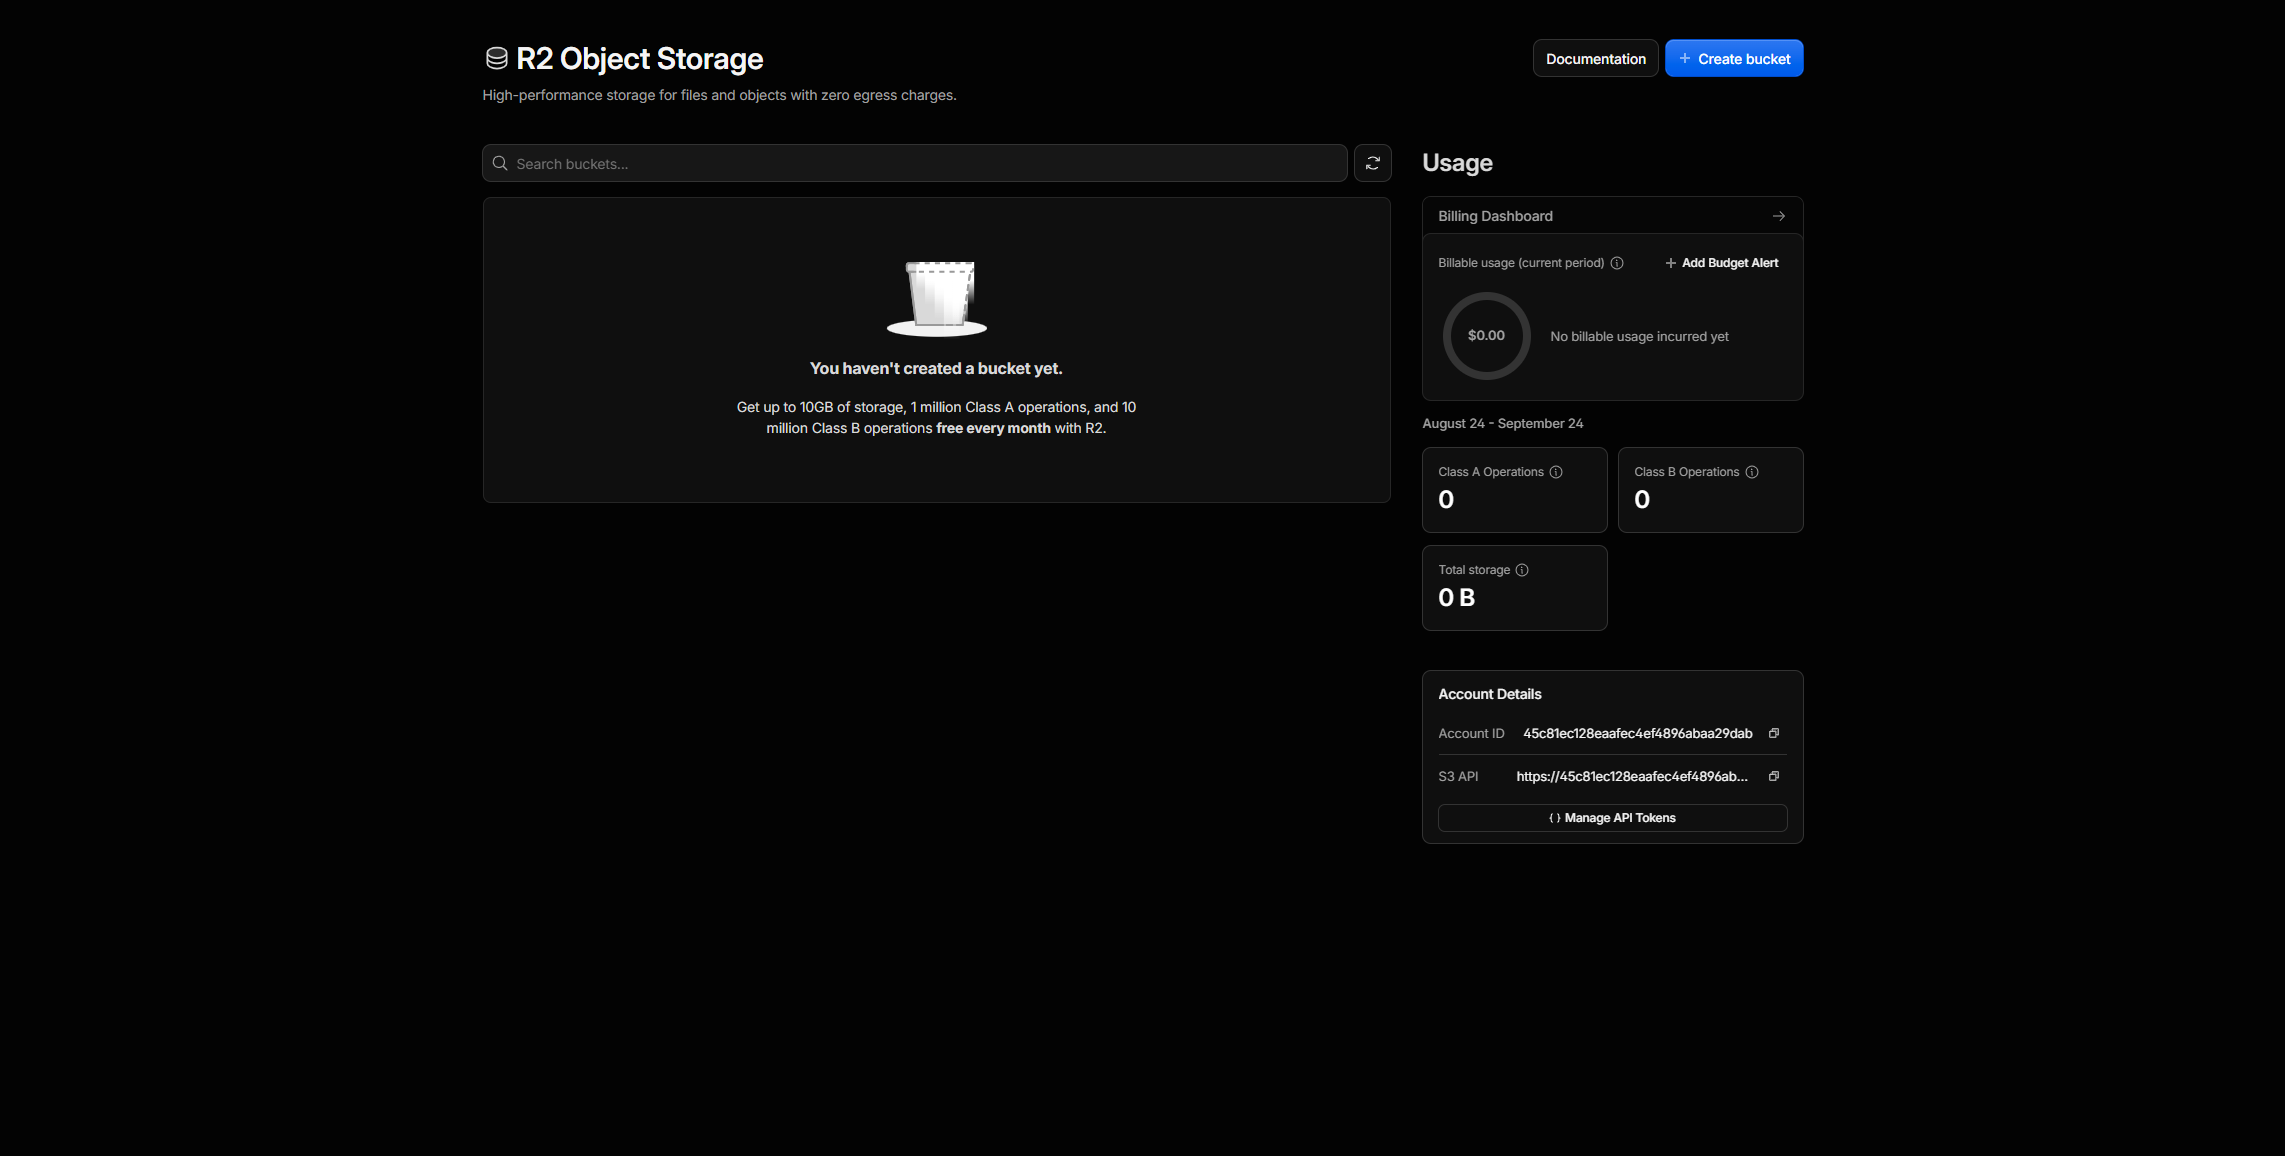
R2 charges for storage and operations, with a monthly free allowance. Usage beyond that allowance incurs charges. The free allowance applies only to Standard storage, not Infrequent Access. Allowances and prices may change. See the official R2 pricing for current details.
You do not need an R2 API token
Saavo's regular file uploads read and write buckets through the Worker's MAIN_R2 binding. Wrangler uses the OAuth login described below. You only need to create an additional R2 API token if you integrate the S3 API yourself or issue temporary upload or download links. Do not generate long-lived credentials in this section.
If a team member cannot see the activation button or complete checkout, their role usually lacks permission to manage both subscriptions and payment methods. Ask the account's Super Administrator to enable R2. Do not switch to another account to continue.
Sign in to Wrangler after installing the project (optional)
Wrangler is installed with Saavo's project dependencies, so you do not need a separate global installation. If you are preparing your environment in documentation order, you can skip this step for now. After downloading the project and running npm install, return to the project root and run:
npx wrangler loginWrangler opens your browser and requests access to Cloudflare through OAuth. Make sure the browser is signed in as the user you prepared earlier, review the authorization page, and allow access. Once the terminal confirms that sign-in succeeded, run:
npx wrangler whoamiThe output should include your sign-in email address and the Cloudflare accounts and Account IDs that this user can access. When configuring resources later, use the Account ID to confirm the target account. Do not rely on the account name alone.
The browser did not open automatically
Leave the login command running in the terminal and copy the authorization URL it prints into your browser. After authorizing access, return to the terminal and confirm that sign-in succeeded.
Signing in does not select a deployment account
Wrangler's OAuth authorization applies to a Cloudflare user. If that user can access multiple accounts, the Account ID and resource IDs in the project configuration still determine where deployment goes. Run npx wrangler whoami again before creating resources later to check.
At this point, confirm that your email address is verified, you can access the Cloudflare account where Saavo will be deployed, and R2 is enabled for that account. After installing the project, use Wrangler for a final authorization check.
Next: Install Git.